Taking care of your shoes is important for several reasons, and although it may seem complicated at first, shoe care will soon hold no secrets for you. Discover the 7 different steps to maintaining your shoes, and all that is left for you is to put them into practice!
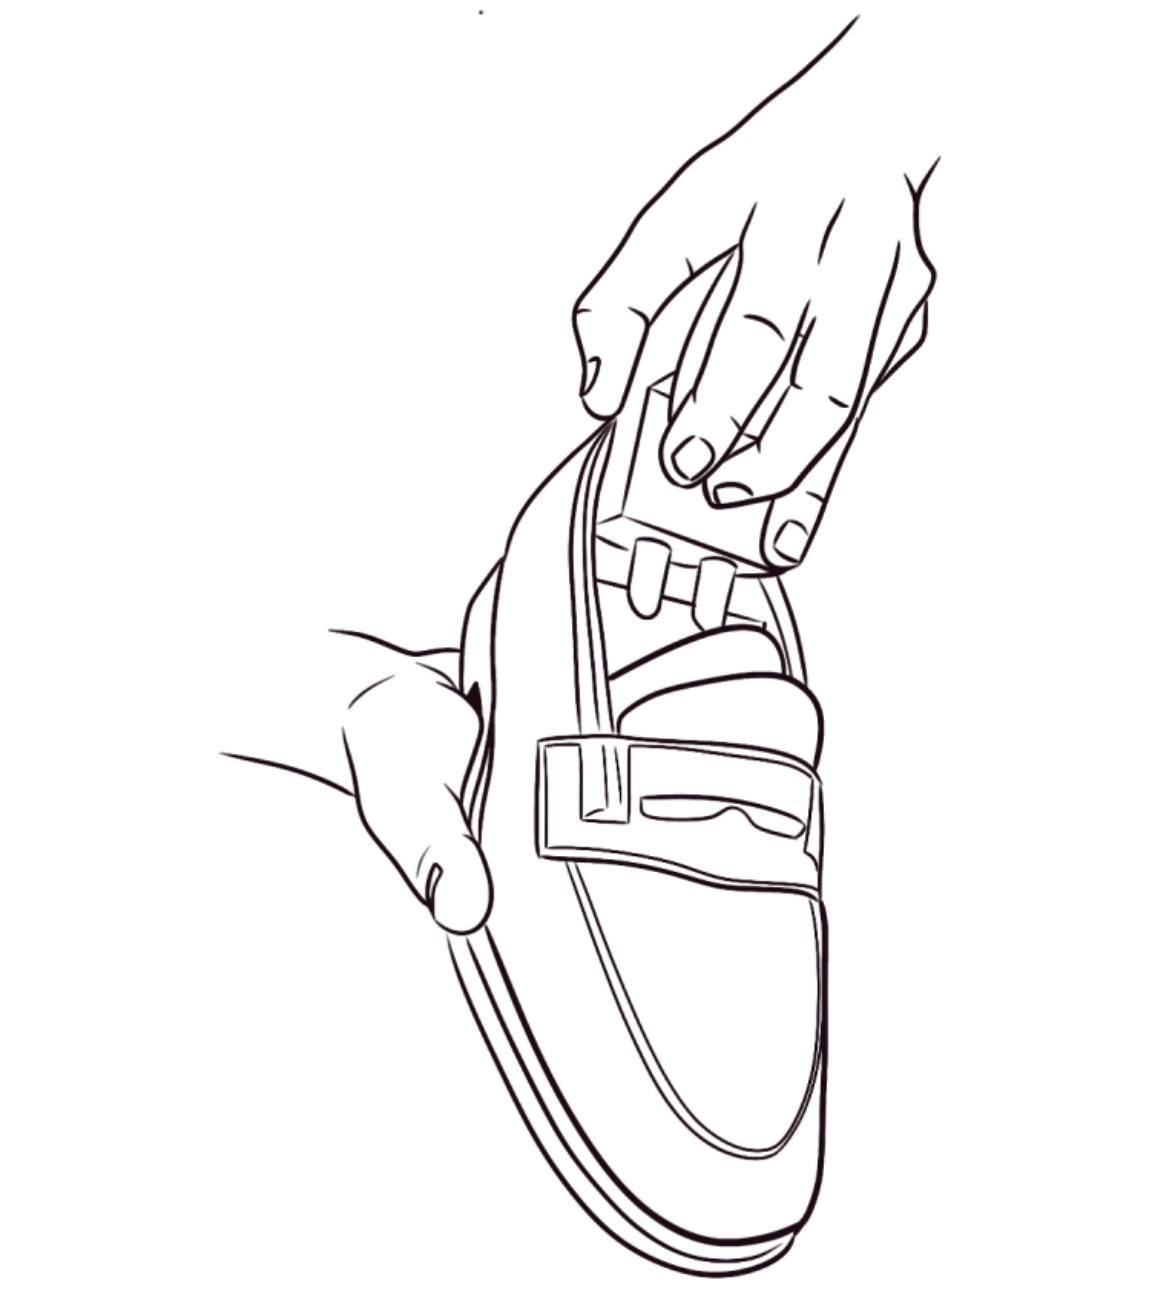
Step 1
Preparing for care
- If your shoes get wet from rain, let them dry with shoe trees inserted, lying on their side for a few hours to allow the damp soles to air out, always keeping them away from heat sources, especially radiators.
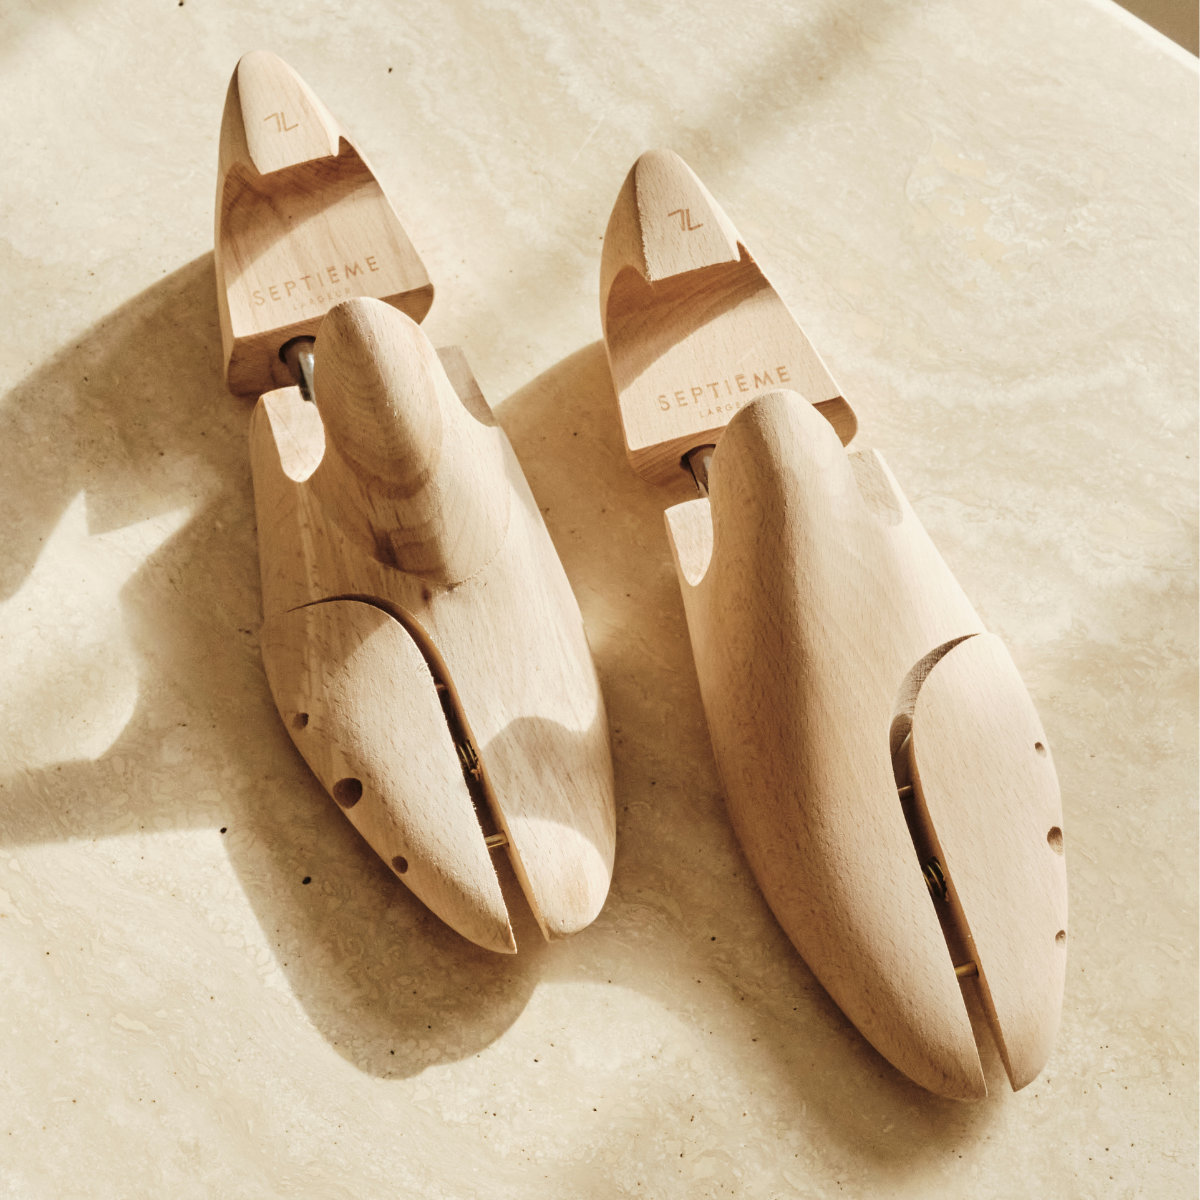
- Before starting care, remove the laces to avoid soiling them and to make it easier to apply the products. Insert wooden shoe trees to restore the shoes to their original shape.
- Place your shoes and the care products on a table that is high enough to allow a comfortable working position.
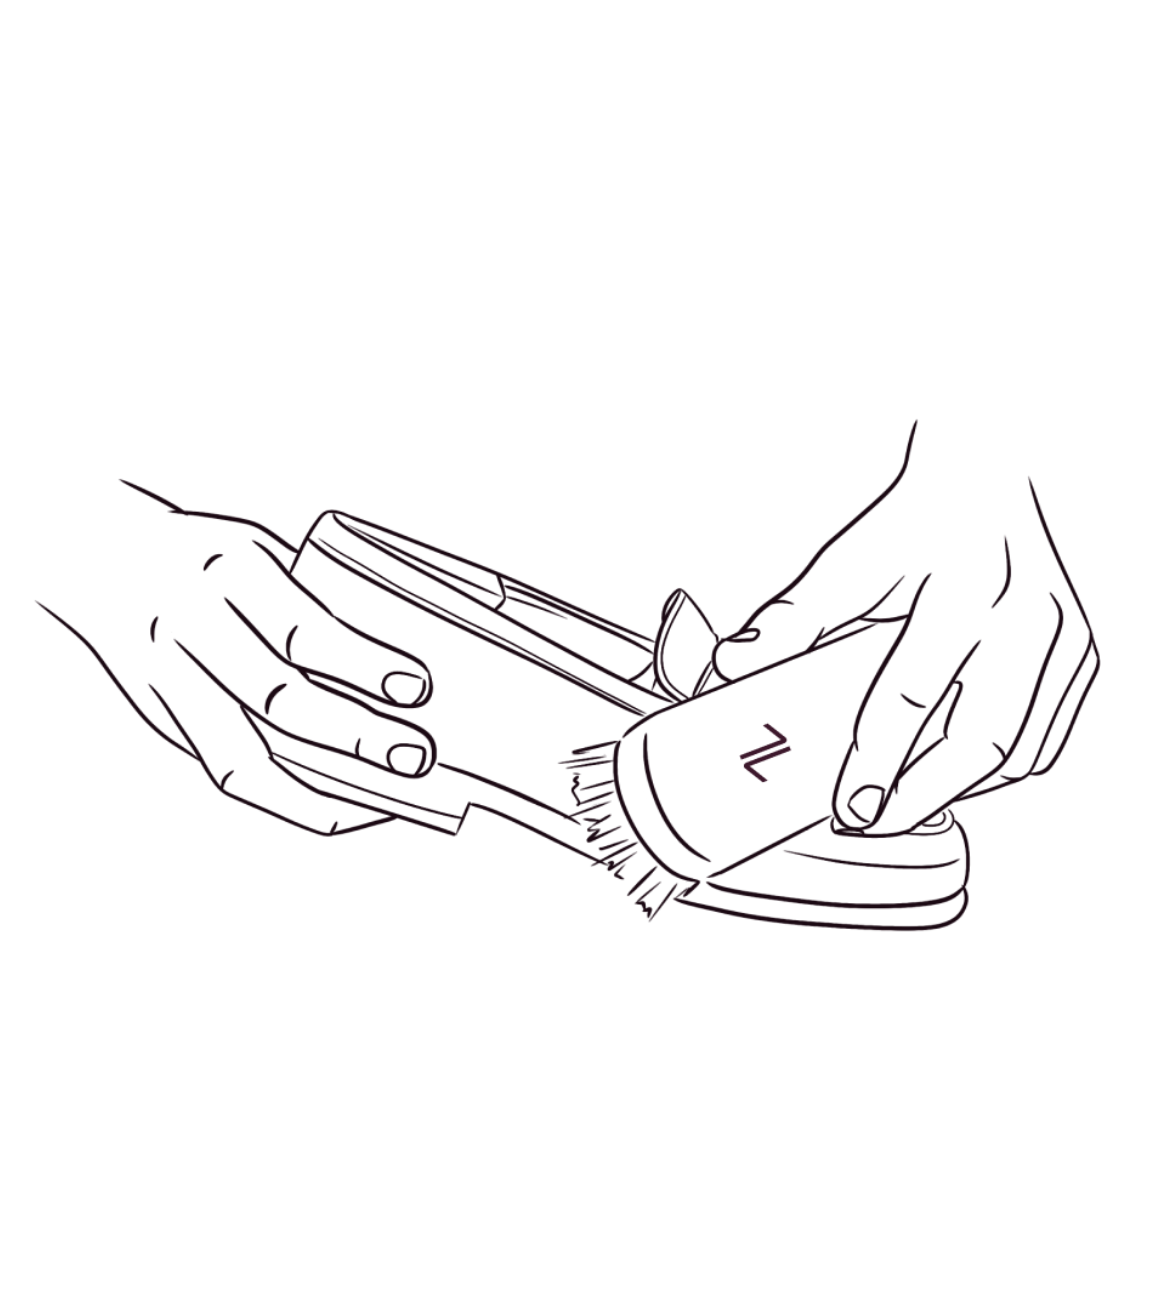
Step 2
Removing dirt
- Using your horsehair shine brush, vigorously brush your shoes without pressing too hard to remove any excess dirt (dust, pebbles, and other residues). Do not forget to pay attention to the welt.
This step is important to prevent trapping dirt in the leather when you apply the care products.
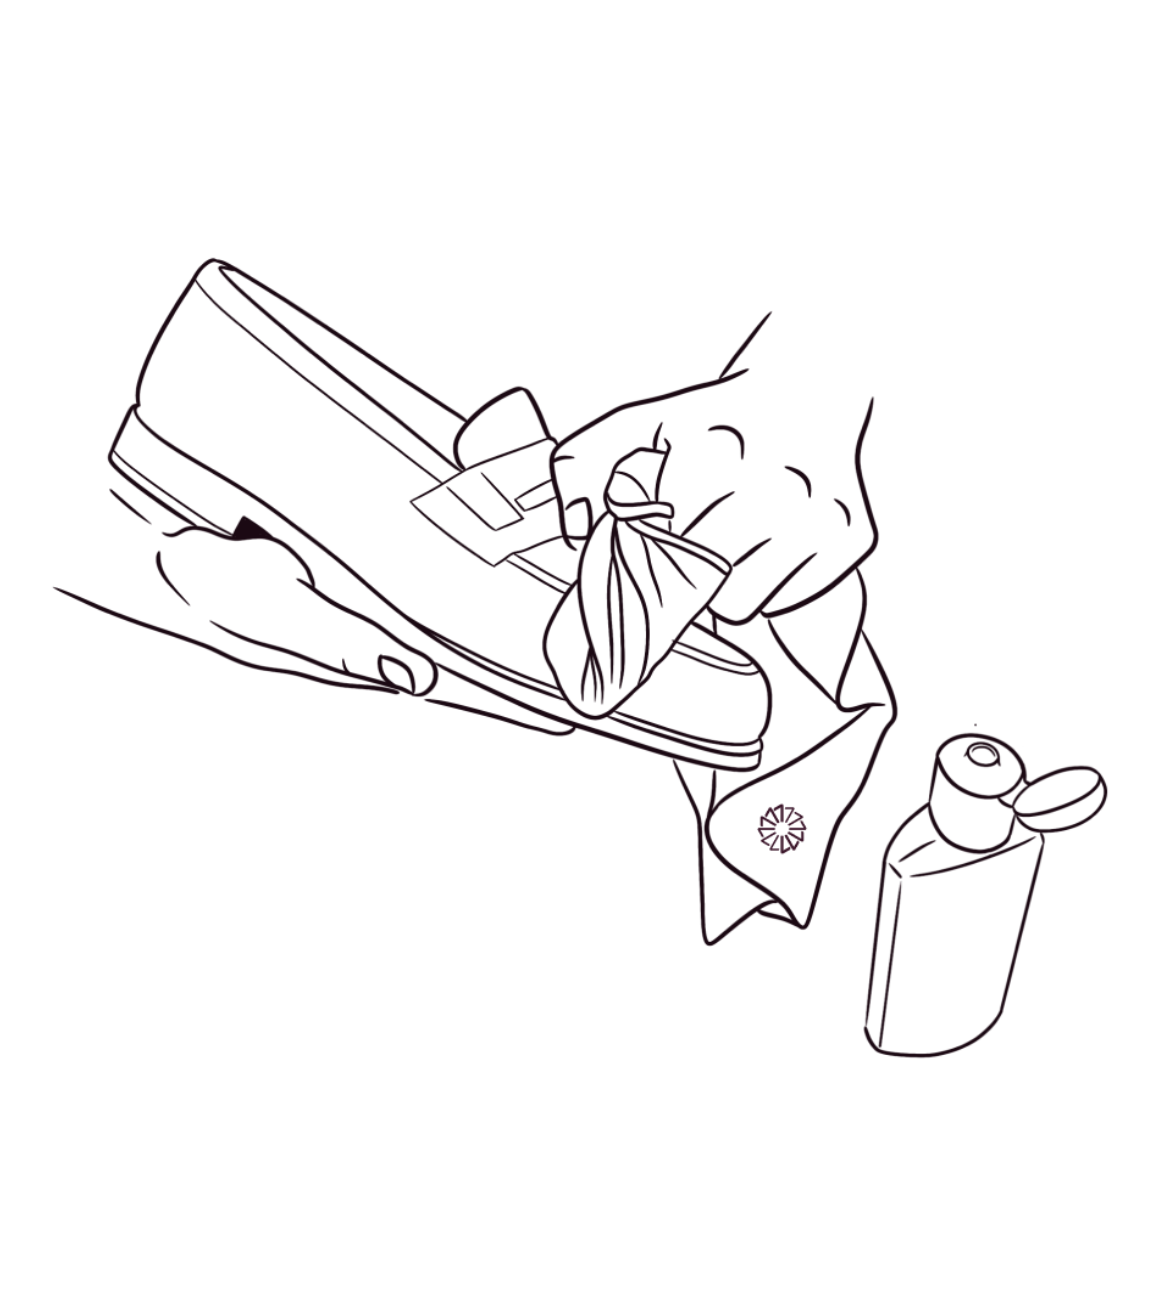
Step 3
Cleaning and conditioning
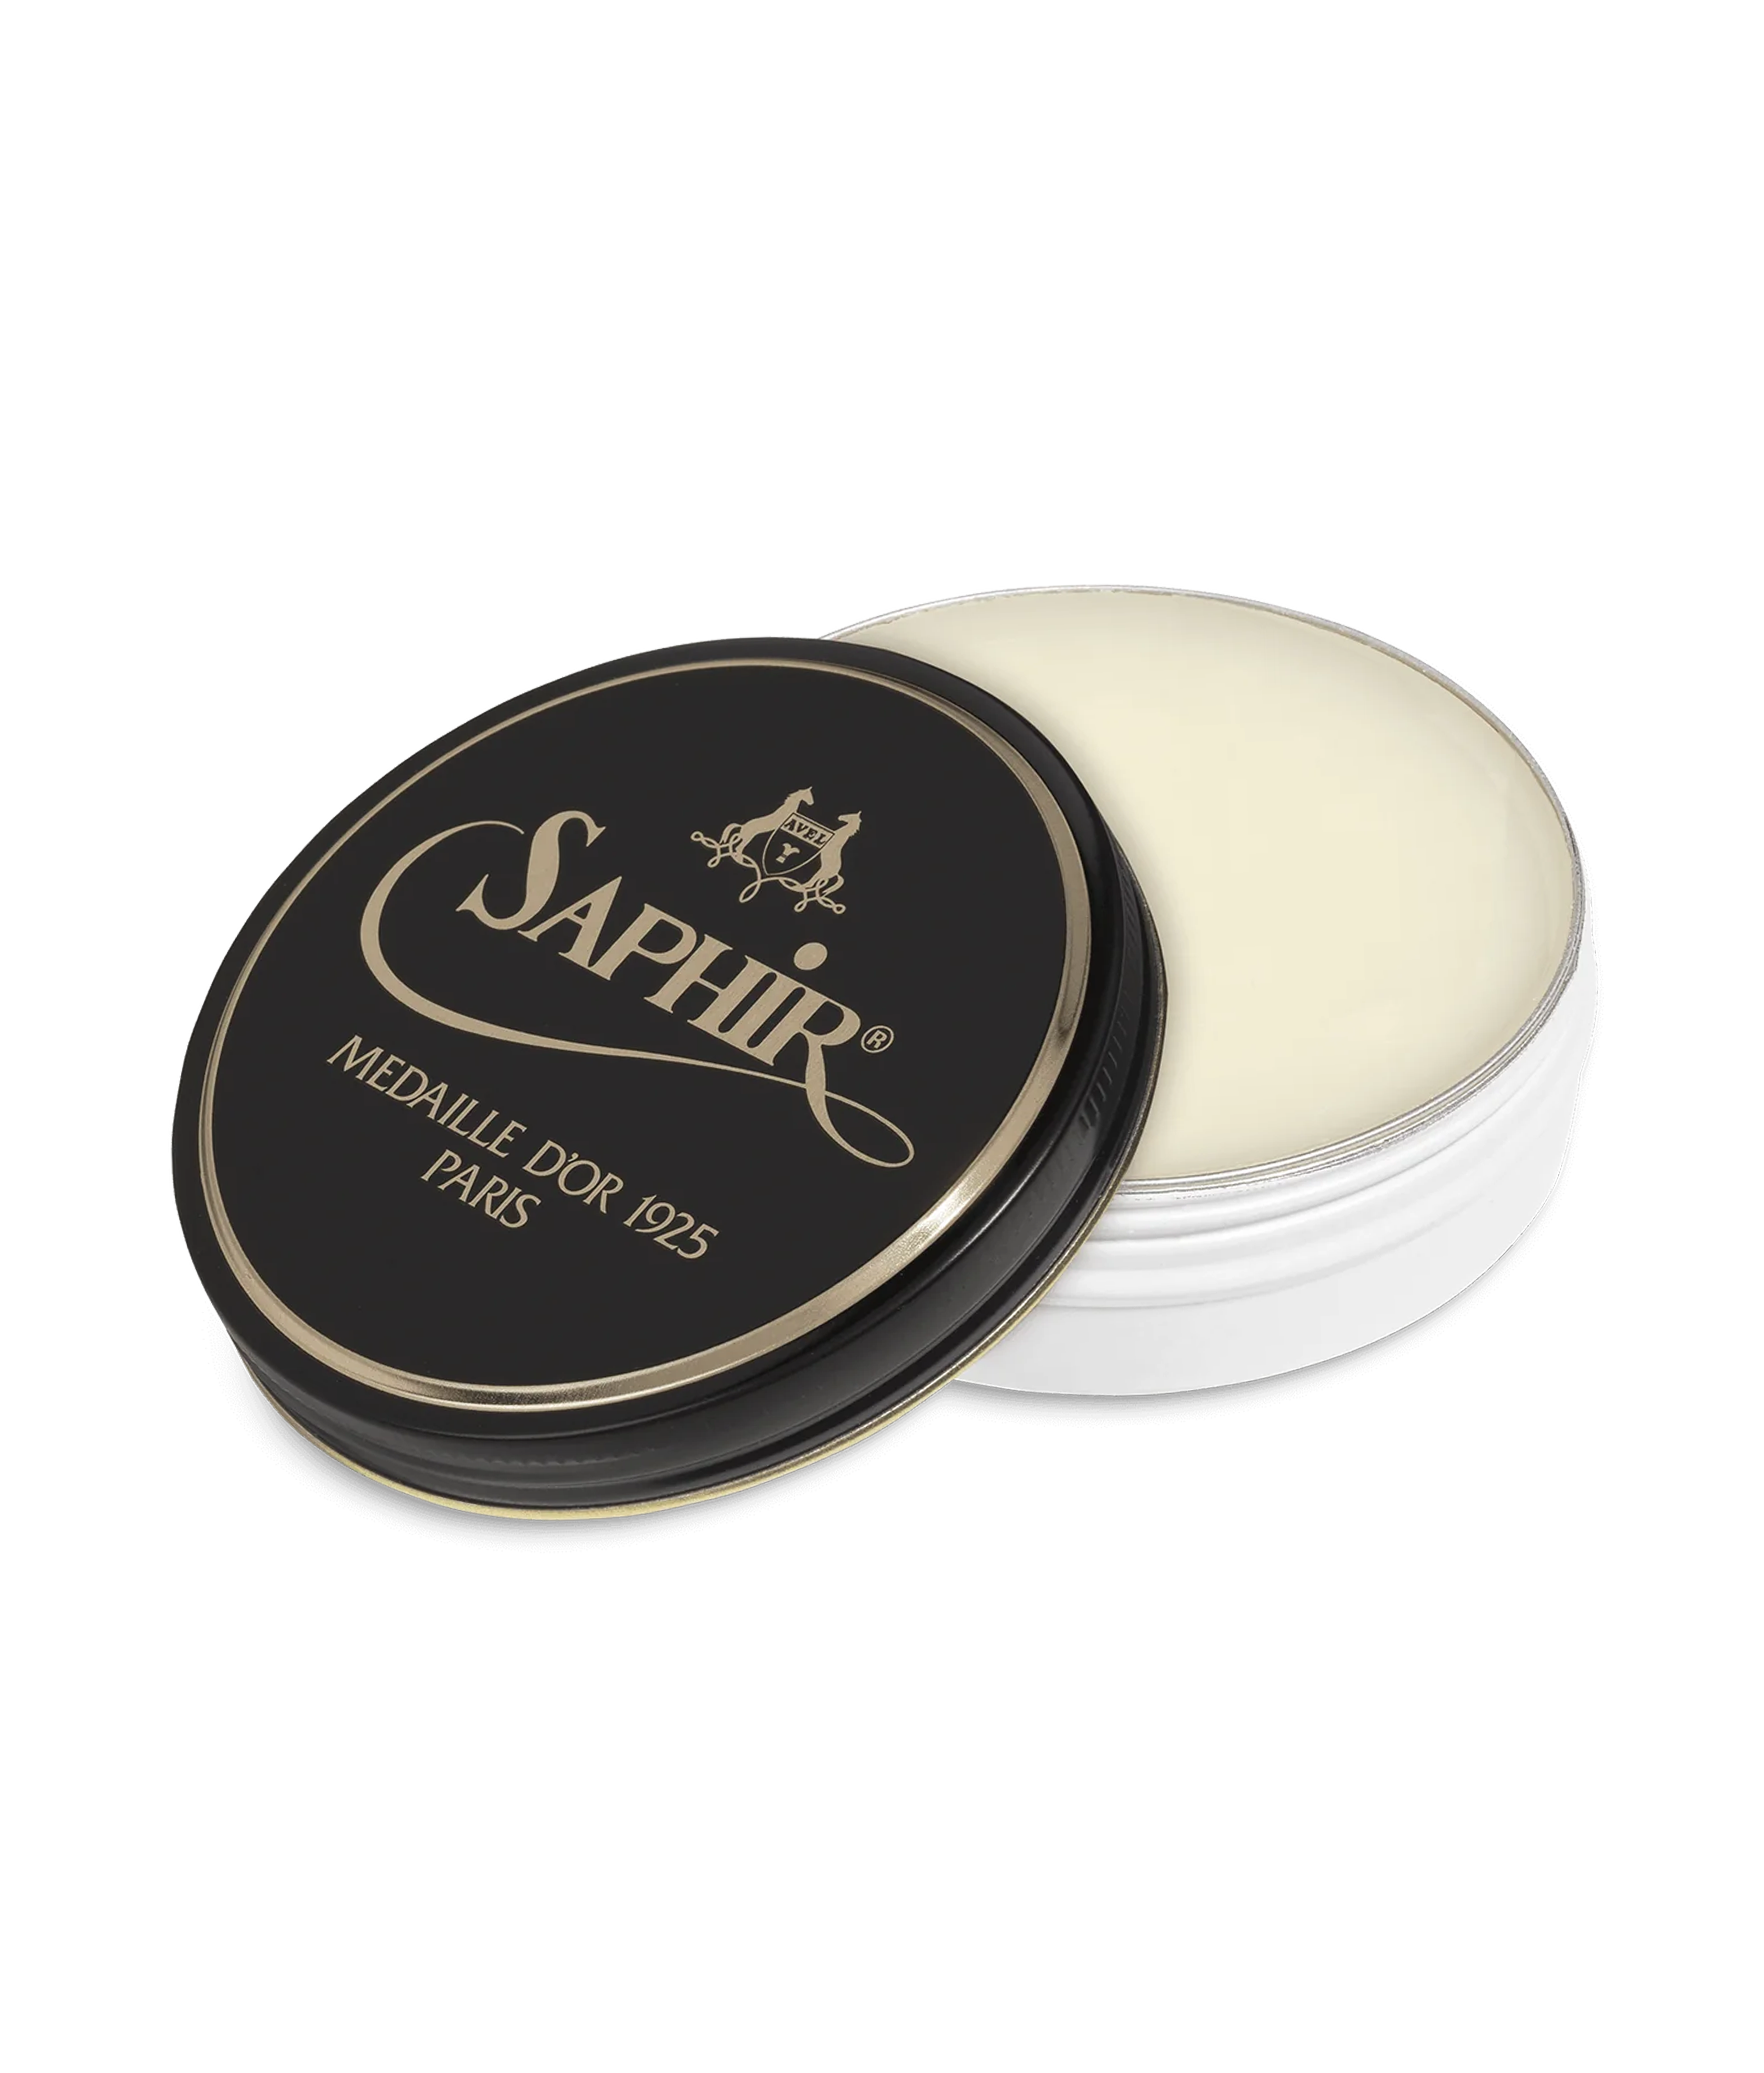
This step, called "stripping", is, along with using shoe trees, the most important part of shoe care. The lotion acts both as a cleanser and a moisturizer for the leather, removing leftover polish while nourishing it.
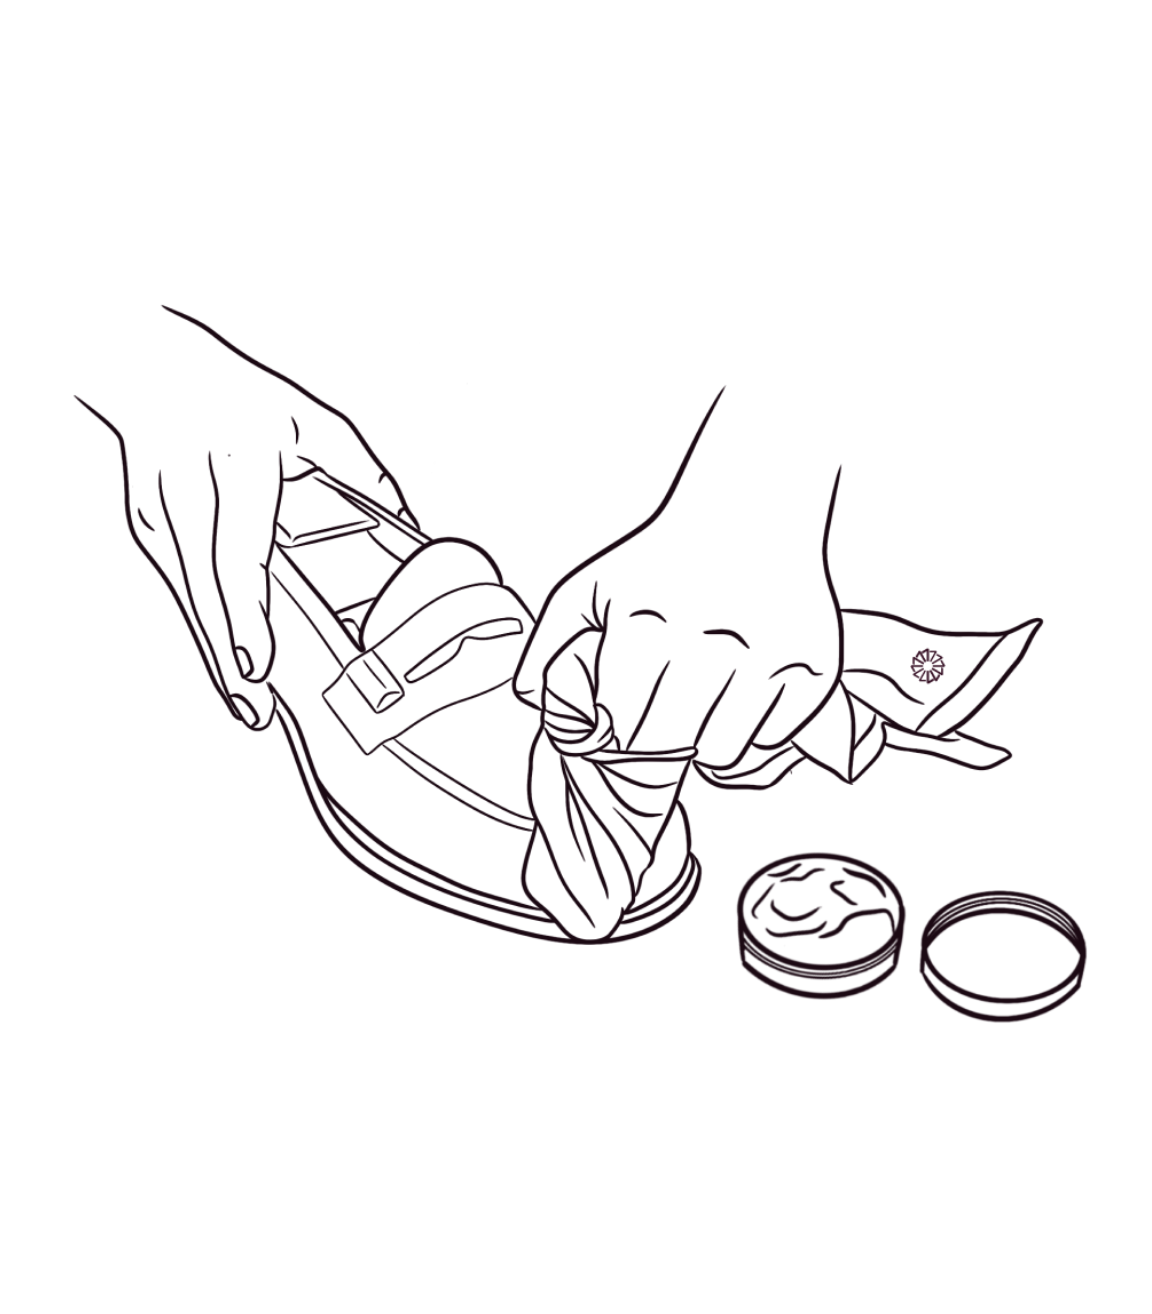
- Wrap a cotton cloth or an old t-shirt around your index and middle fingers and secure it with your thumb to create a flat surface.
- Place a small amount of mink oil lotion on the cloth and apply it to the entire shoe using small circular motions without pressing. Pay special attention to the creases to gently "iron" them out.
- Let the shoes dry for a few minutes.
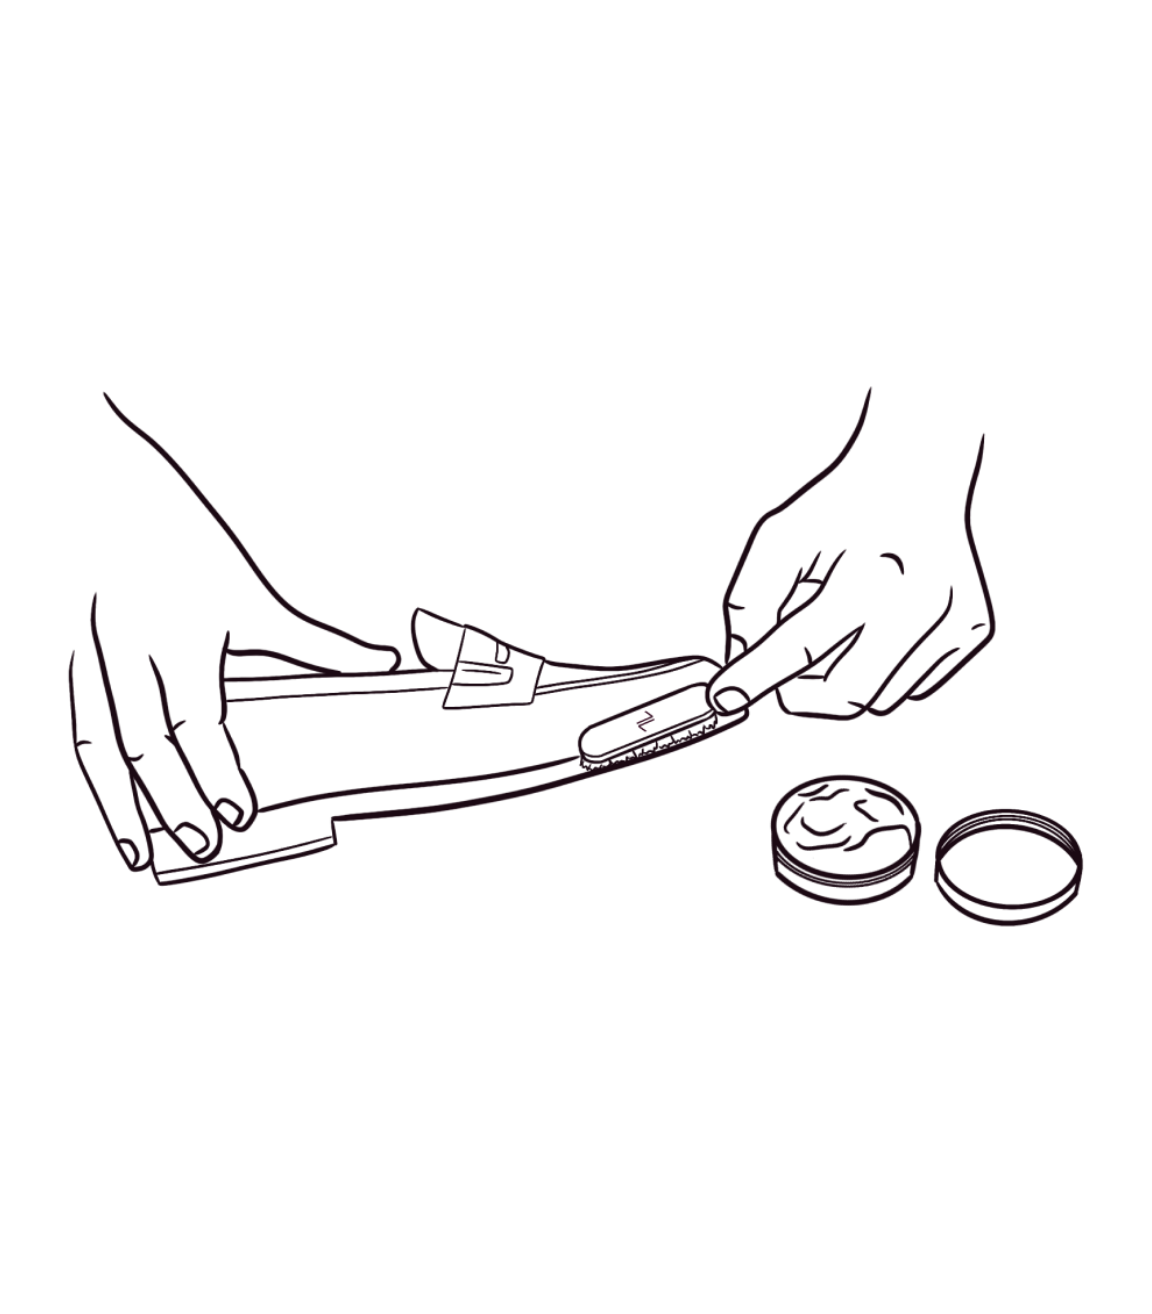
Step 4
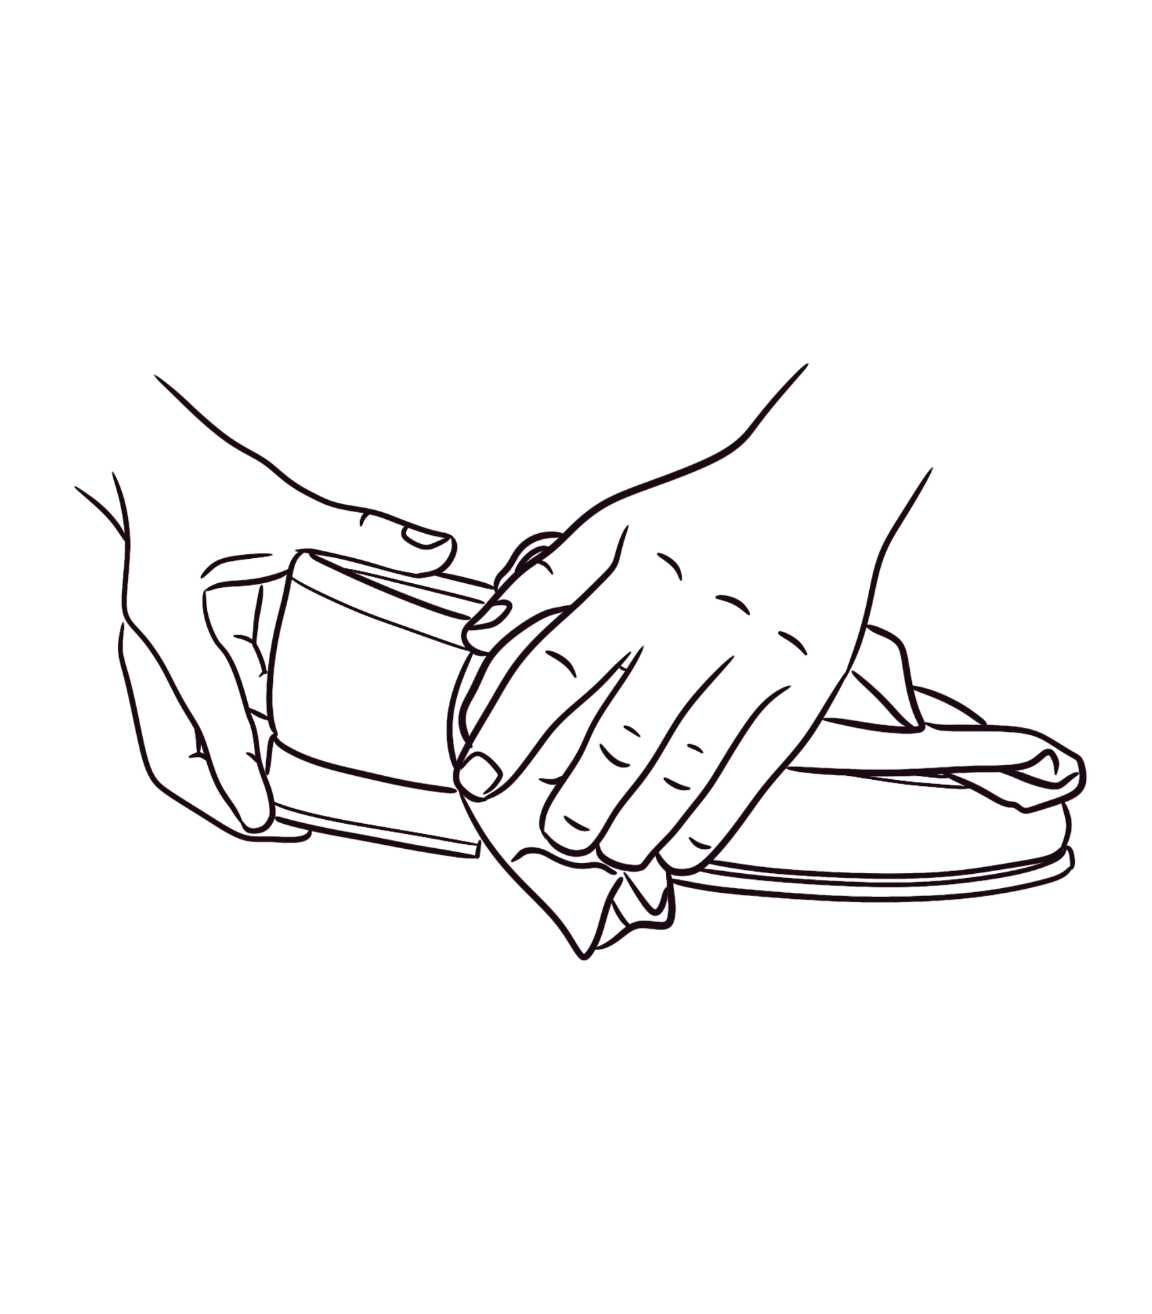
Caring for the sole stitching
- Tap your welt brush into the shoe polish and brush all around the shoe to nourish the sole stitching and its waxed thread.
- Do not hesitate to extend onto the sides of the sole and heel.
This step is often overlooked and neglected, yet it truly enhances the overall appearance of the shoe and extends its lifespan.
Step 5
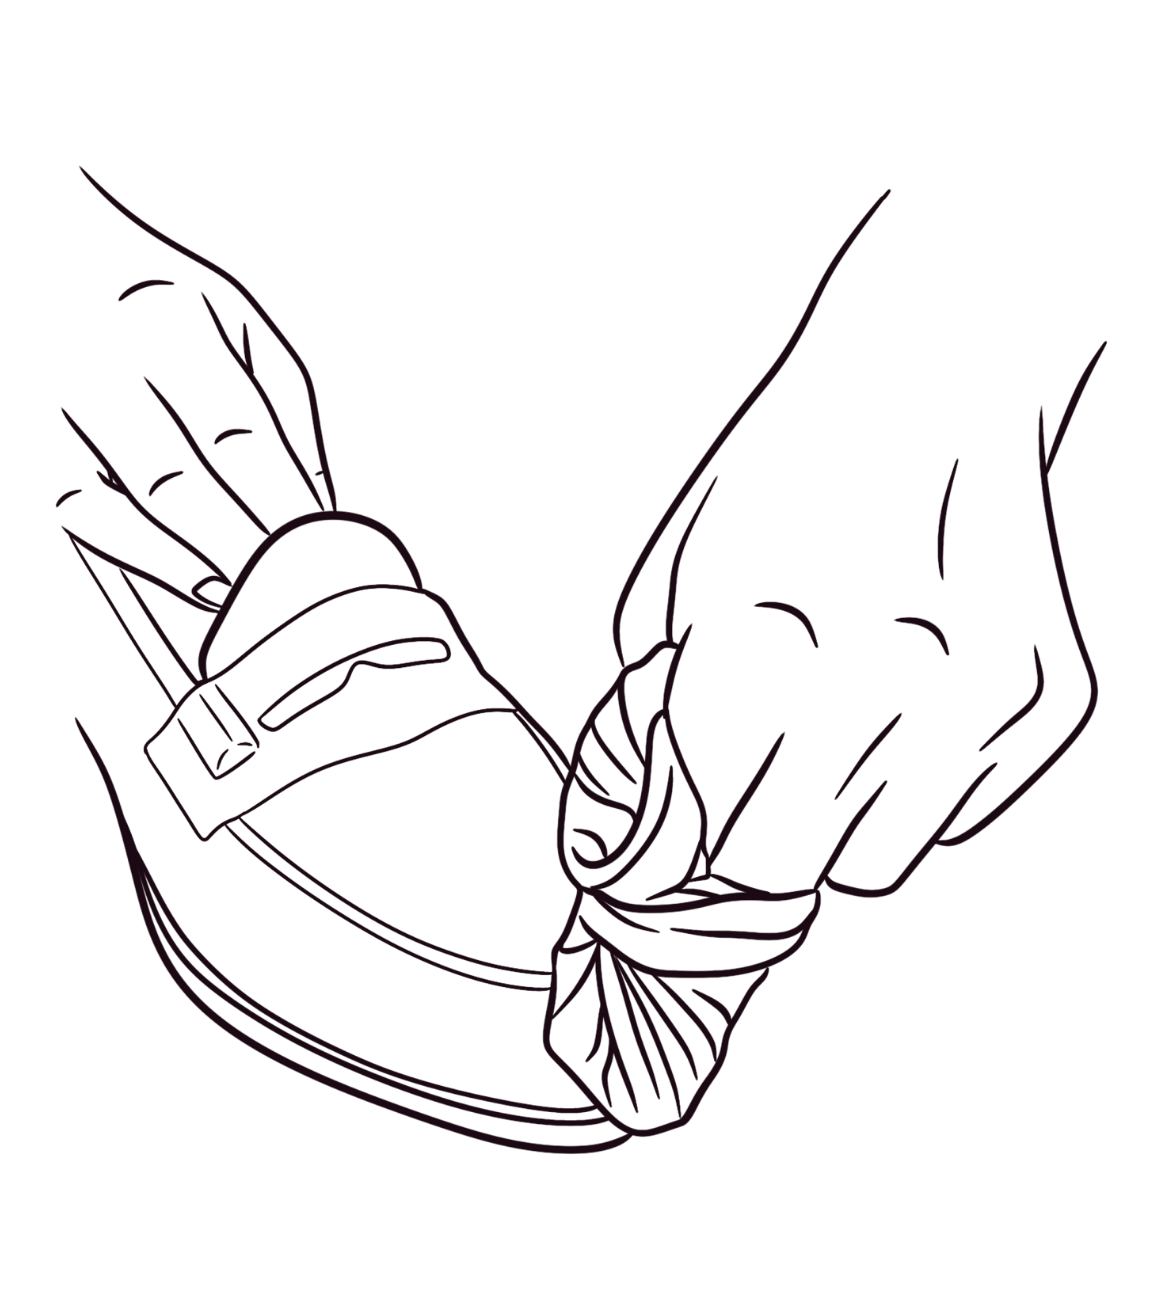
Removing excess cream
- Roll your cloth into a ball and rub it over the entire surface of the leather to remove any excess mink oil lotion. The overall appearance will immediately change from matte to glossy.
- You can also rub the heel and the sides of the sole to make them shine.
Step 6
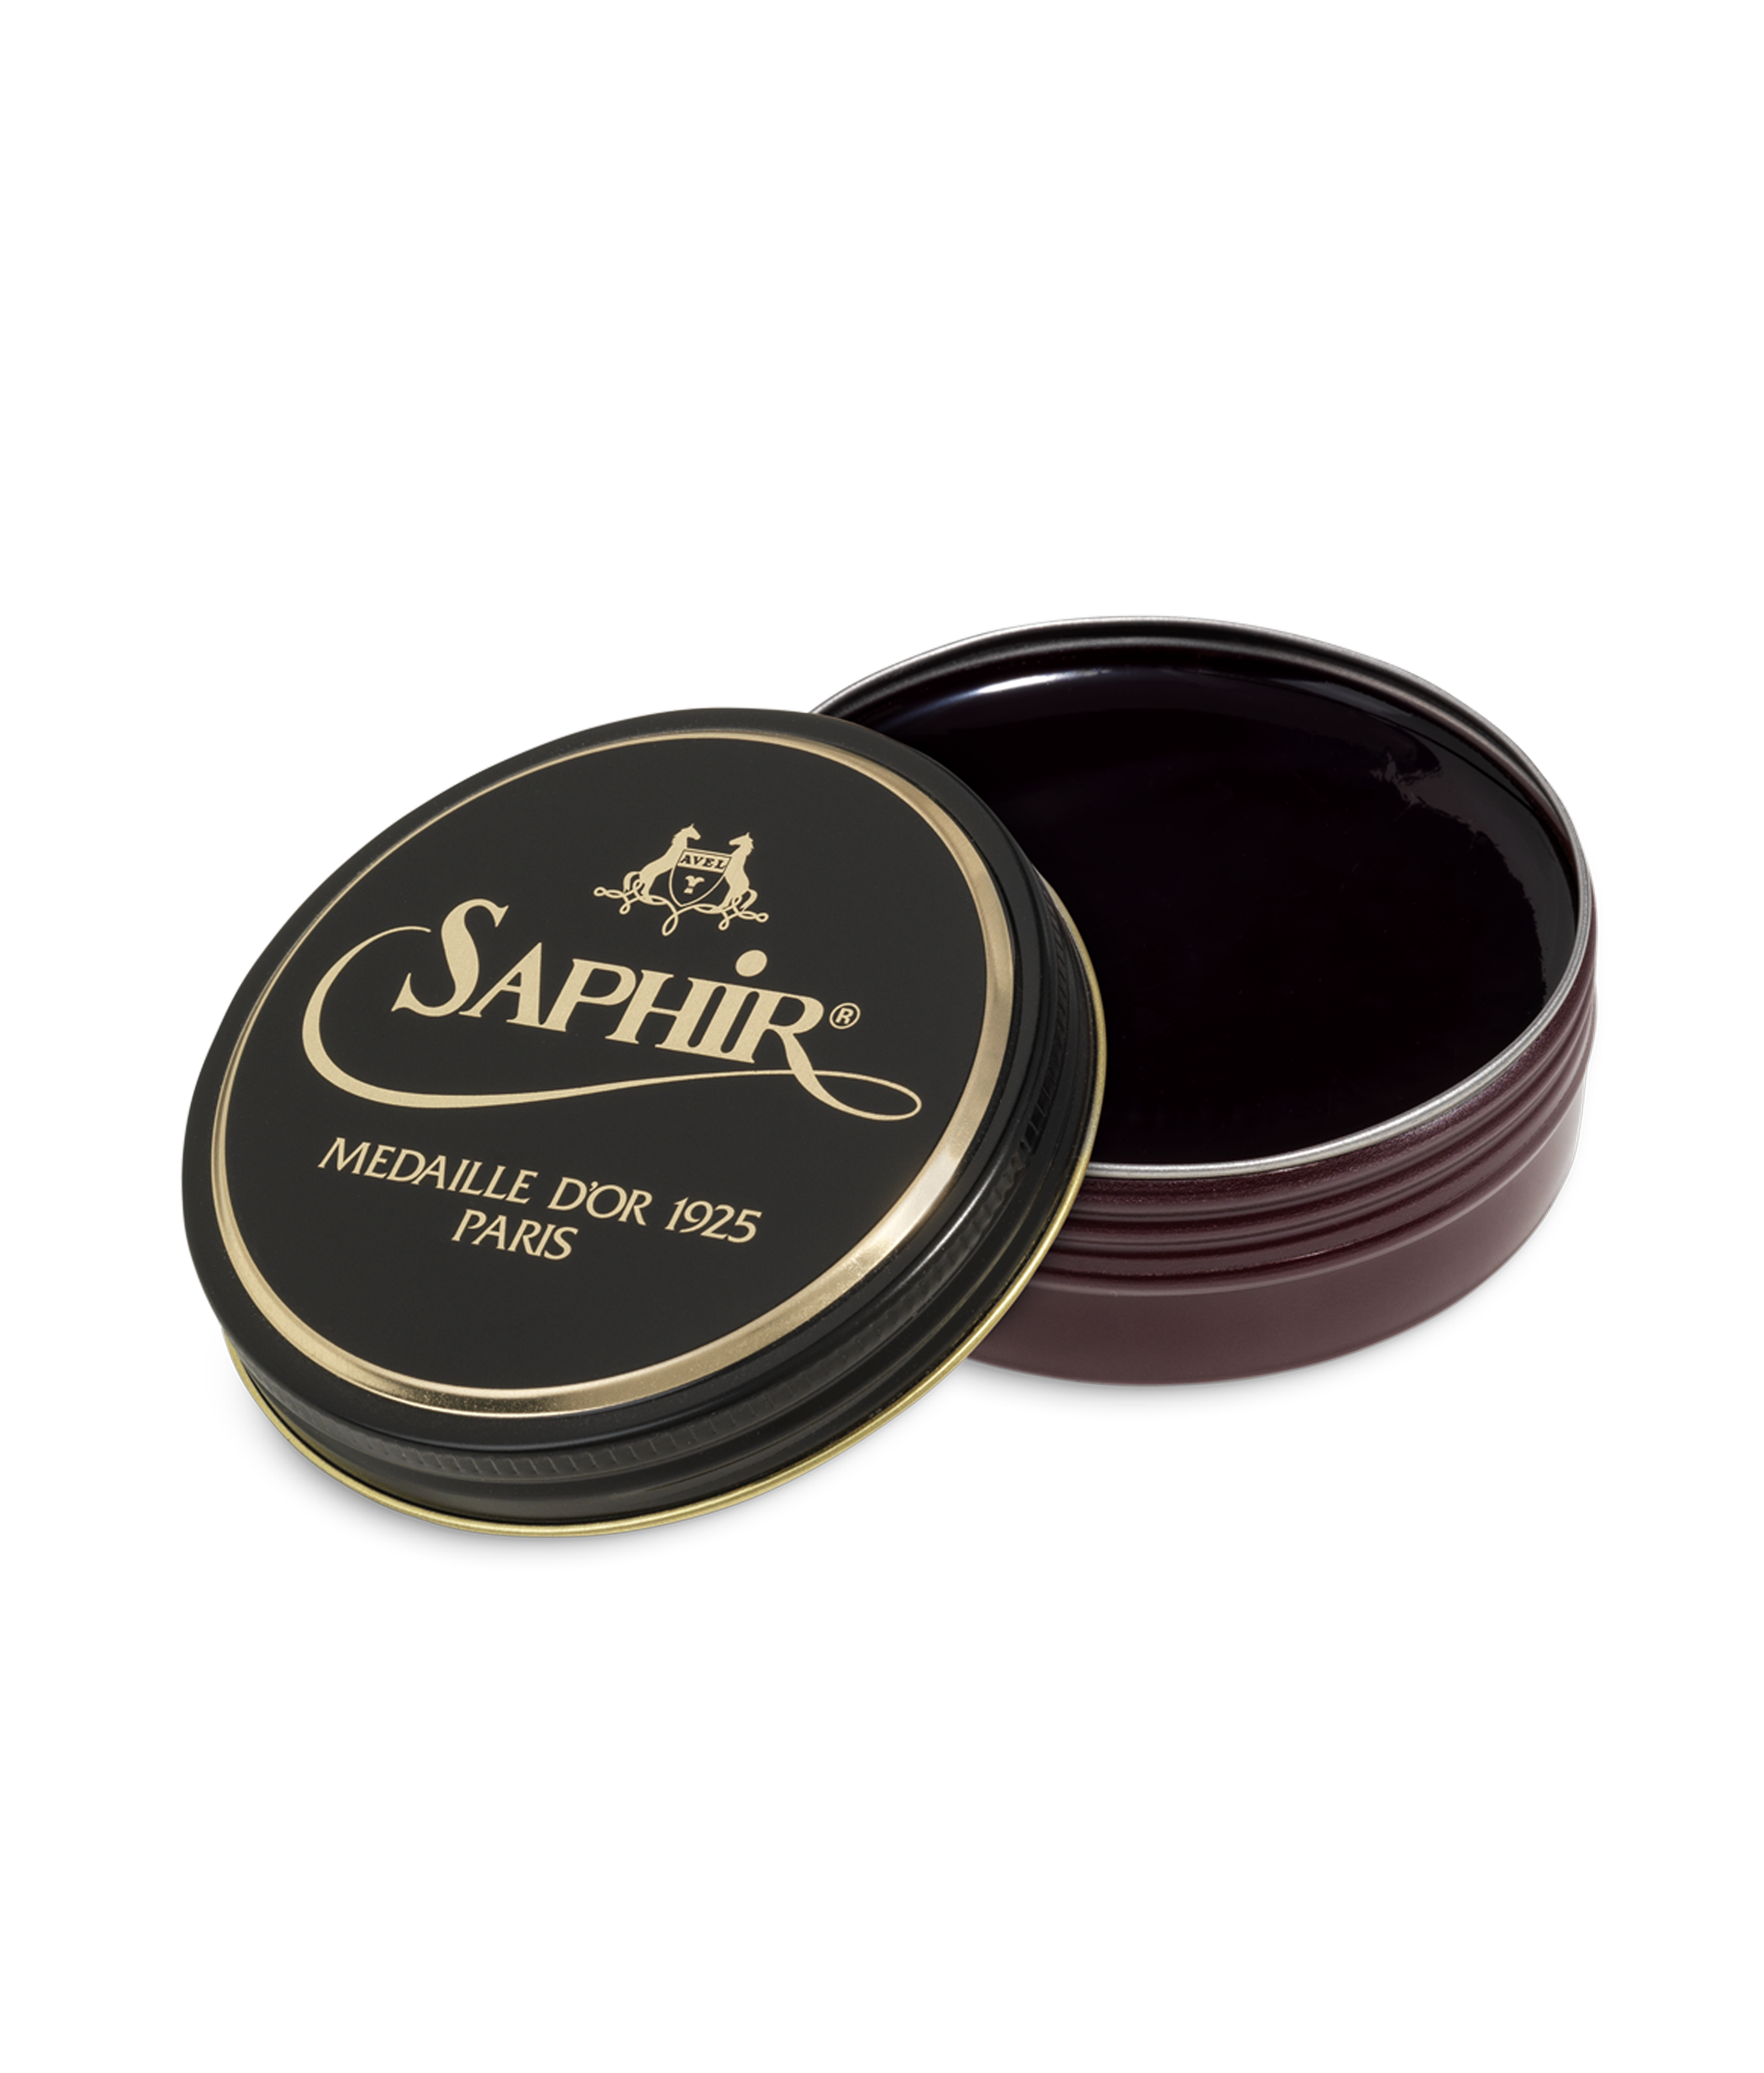
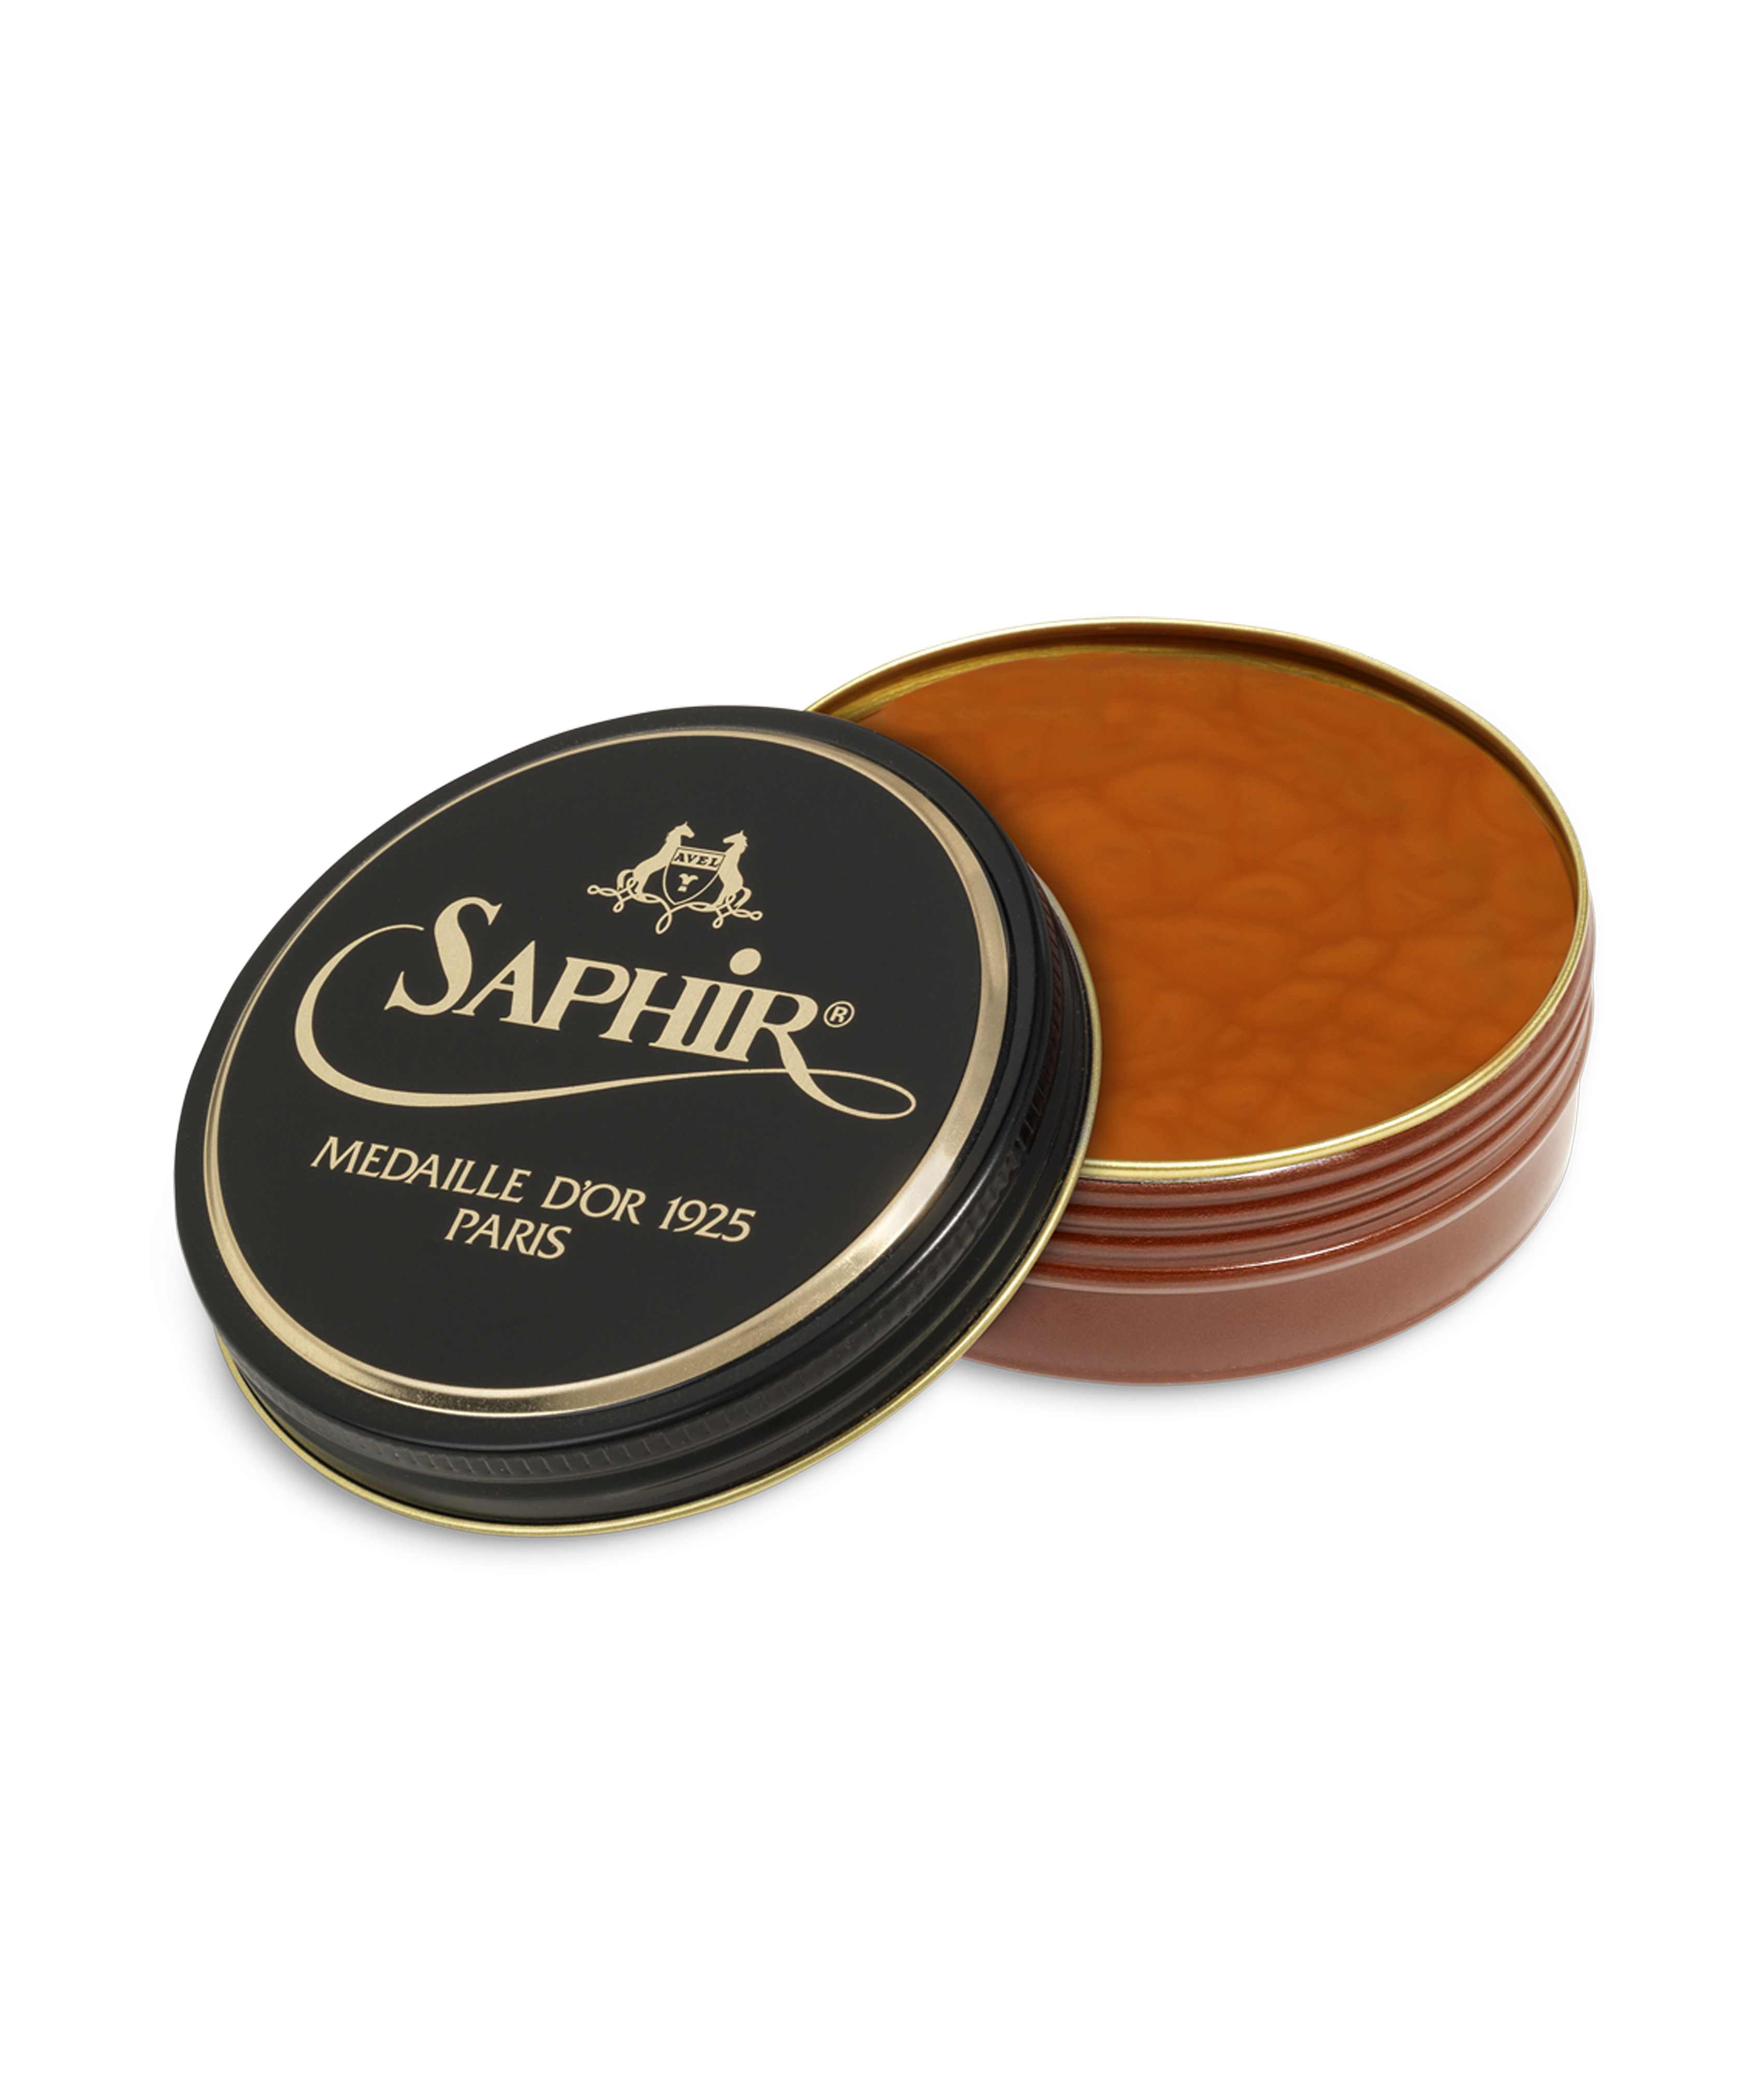
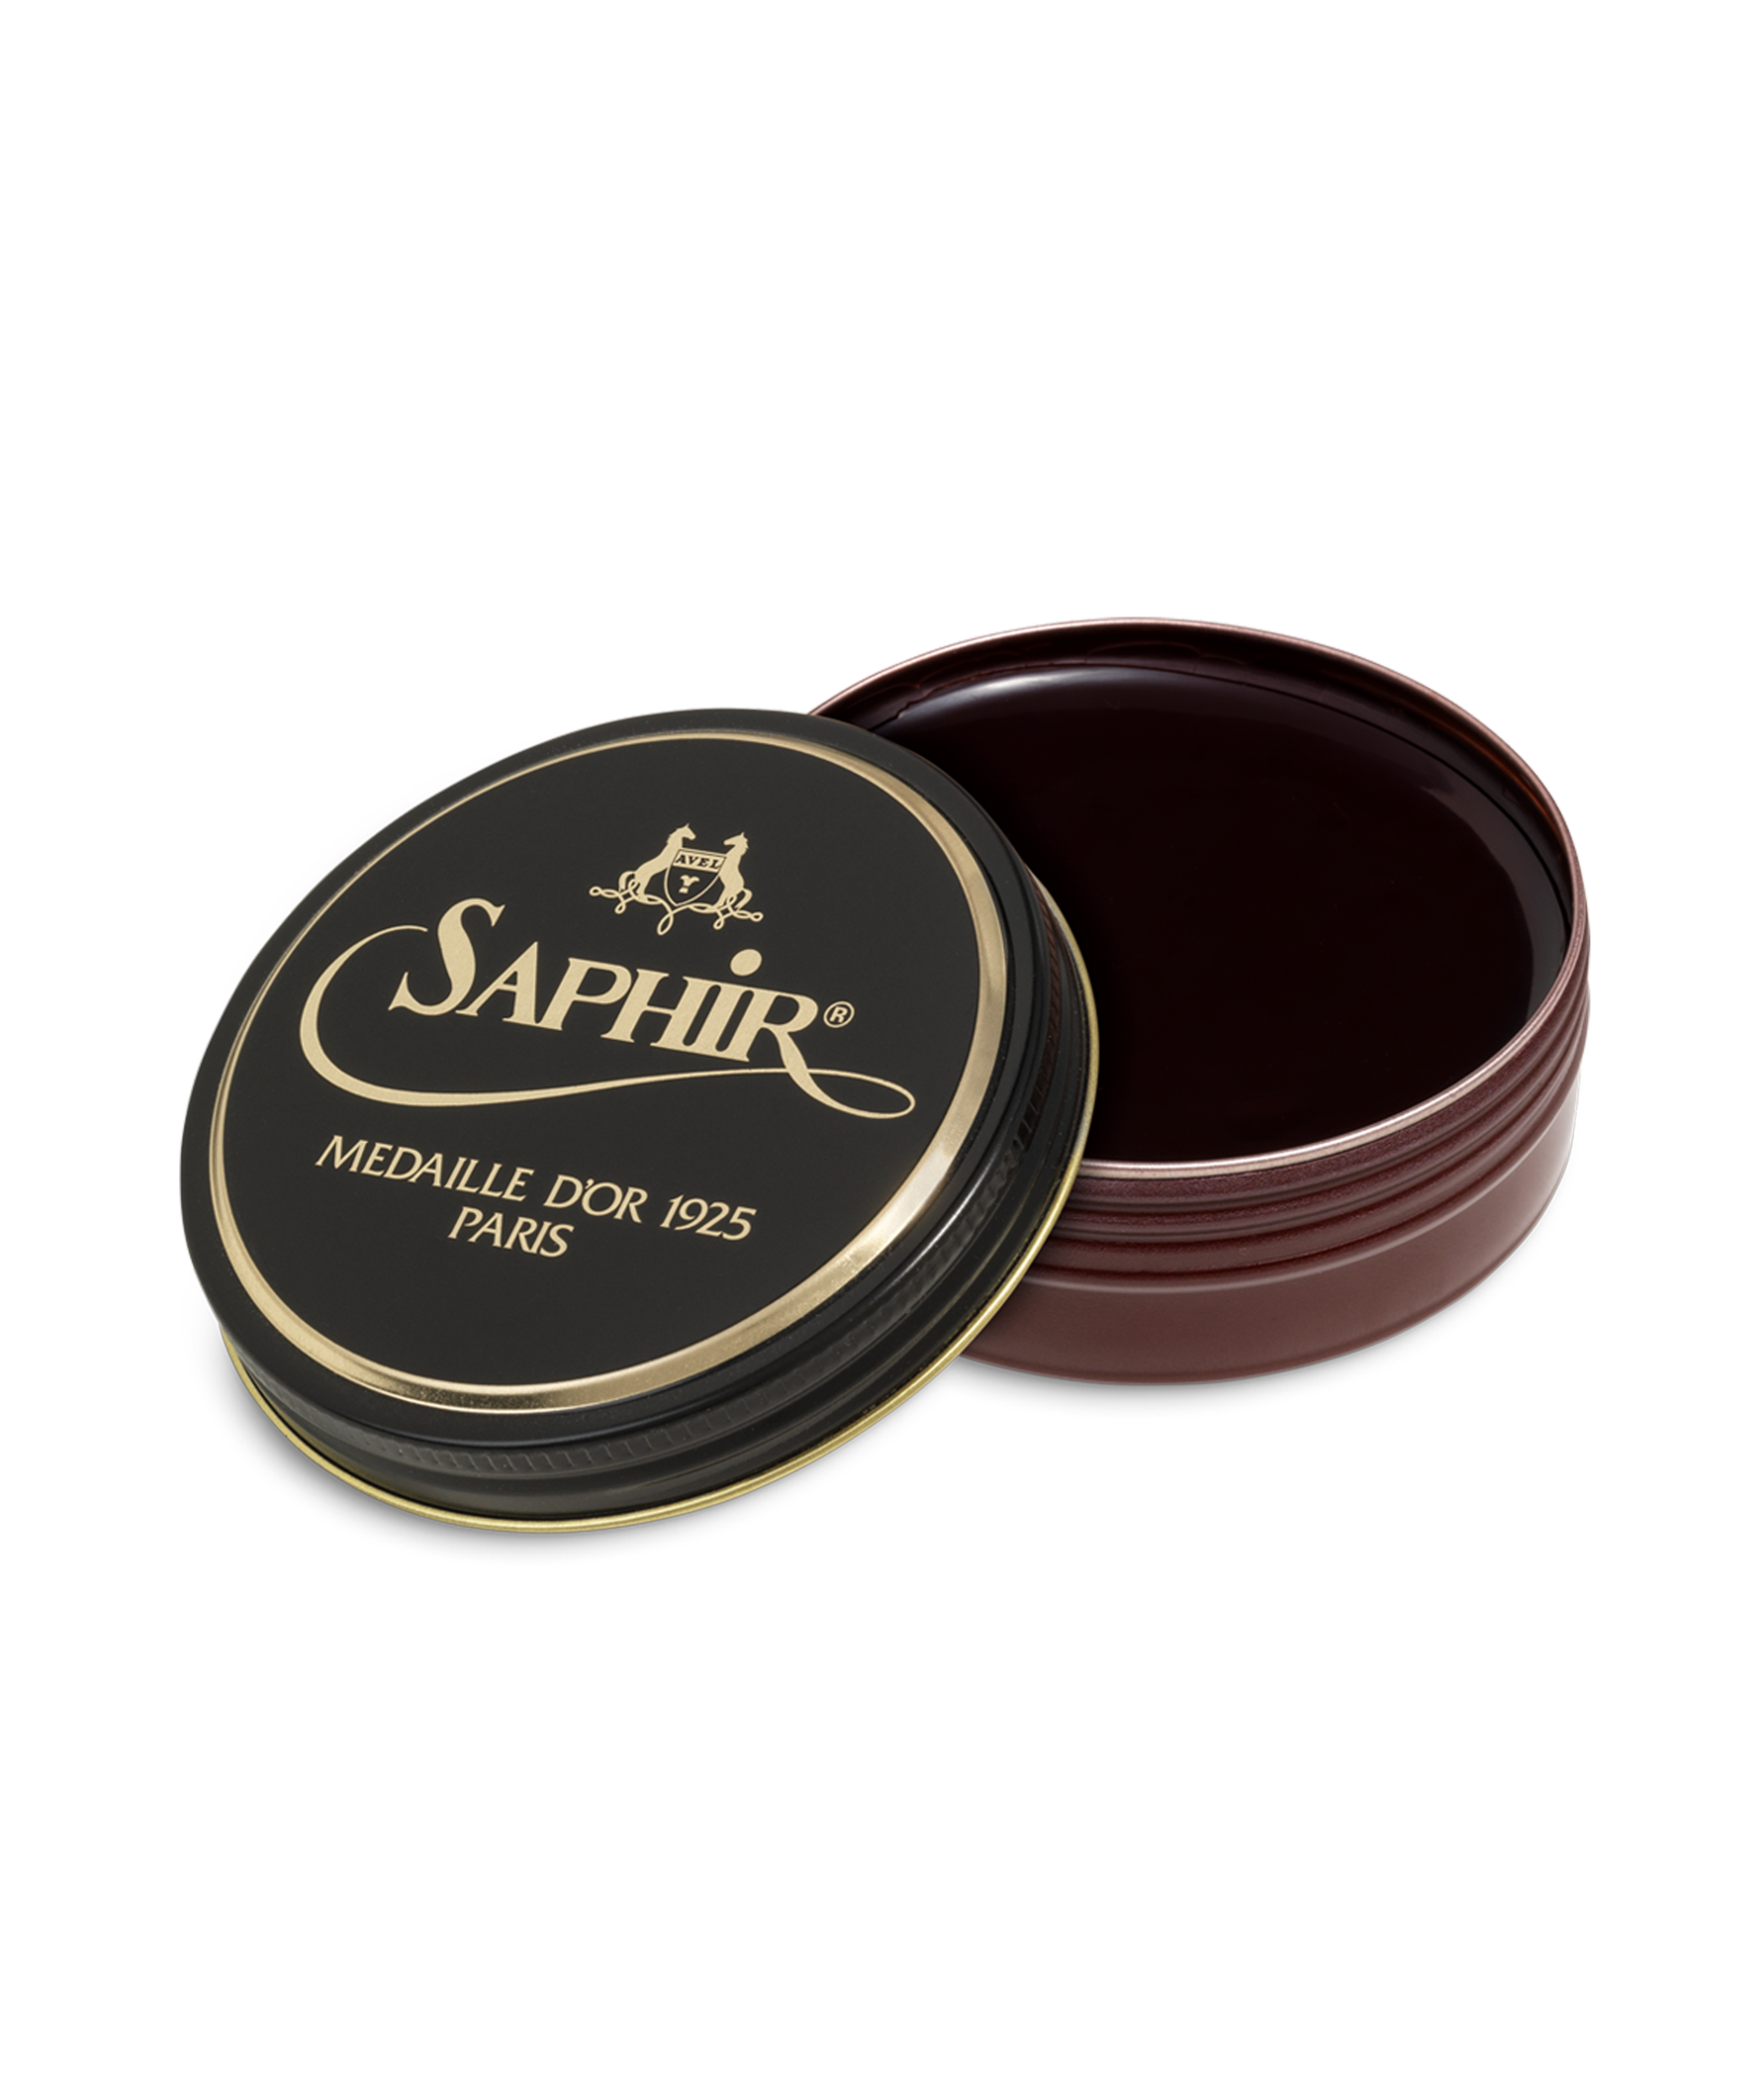
Polish and shine
- Take your cloth wrapped around your index and middle fingers and apply a small amount of shoe polish to the entire shoe.
- We recommend using a shoe polish slightly darker than your shoe’s leather to give it a subtle patina over time while also preventing the leather creases from standing out.
This step closes and fills the pores of the leather, enhances its shine, and protects it from potential weather damage by adding a layer of water resistance.
Step 7
Glazing
Glazing is an optional step that further protects the front of the shoe while giving it a particularly elegant glossy finish. Technically, it involves saturating the leather with wax polish, which is then crystallized with water to create a varnished effect.
- Glazing is applied to the rigid parts of the shoe: the toe cap at the front and the counter at the back. These are the only areas that do not stretch and are meant to maintain the shoe’s structural balance.
- For glazing, you can use the same shoe polish applied previously or choose a slightly darker shade (for example, dark brown on a cognac leather shoe) to create a subtle visual contrast with depth.
- Open your polish tin and pour a small amount of water into the lid. Wrap your cloth around your index and middle fingers and apply a small amount of shoe polish to the area to be glazed using very gentle, small circular motions.
We do not recommend glazing a new shoe, as the leather will still evolve during the first wears, stretching and forming creases that adapt to your feet.

FOCUS ON
The shoe tree
Shoe trees are undoubtedly the most essential element of shoe care for the longevity of your shoes.
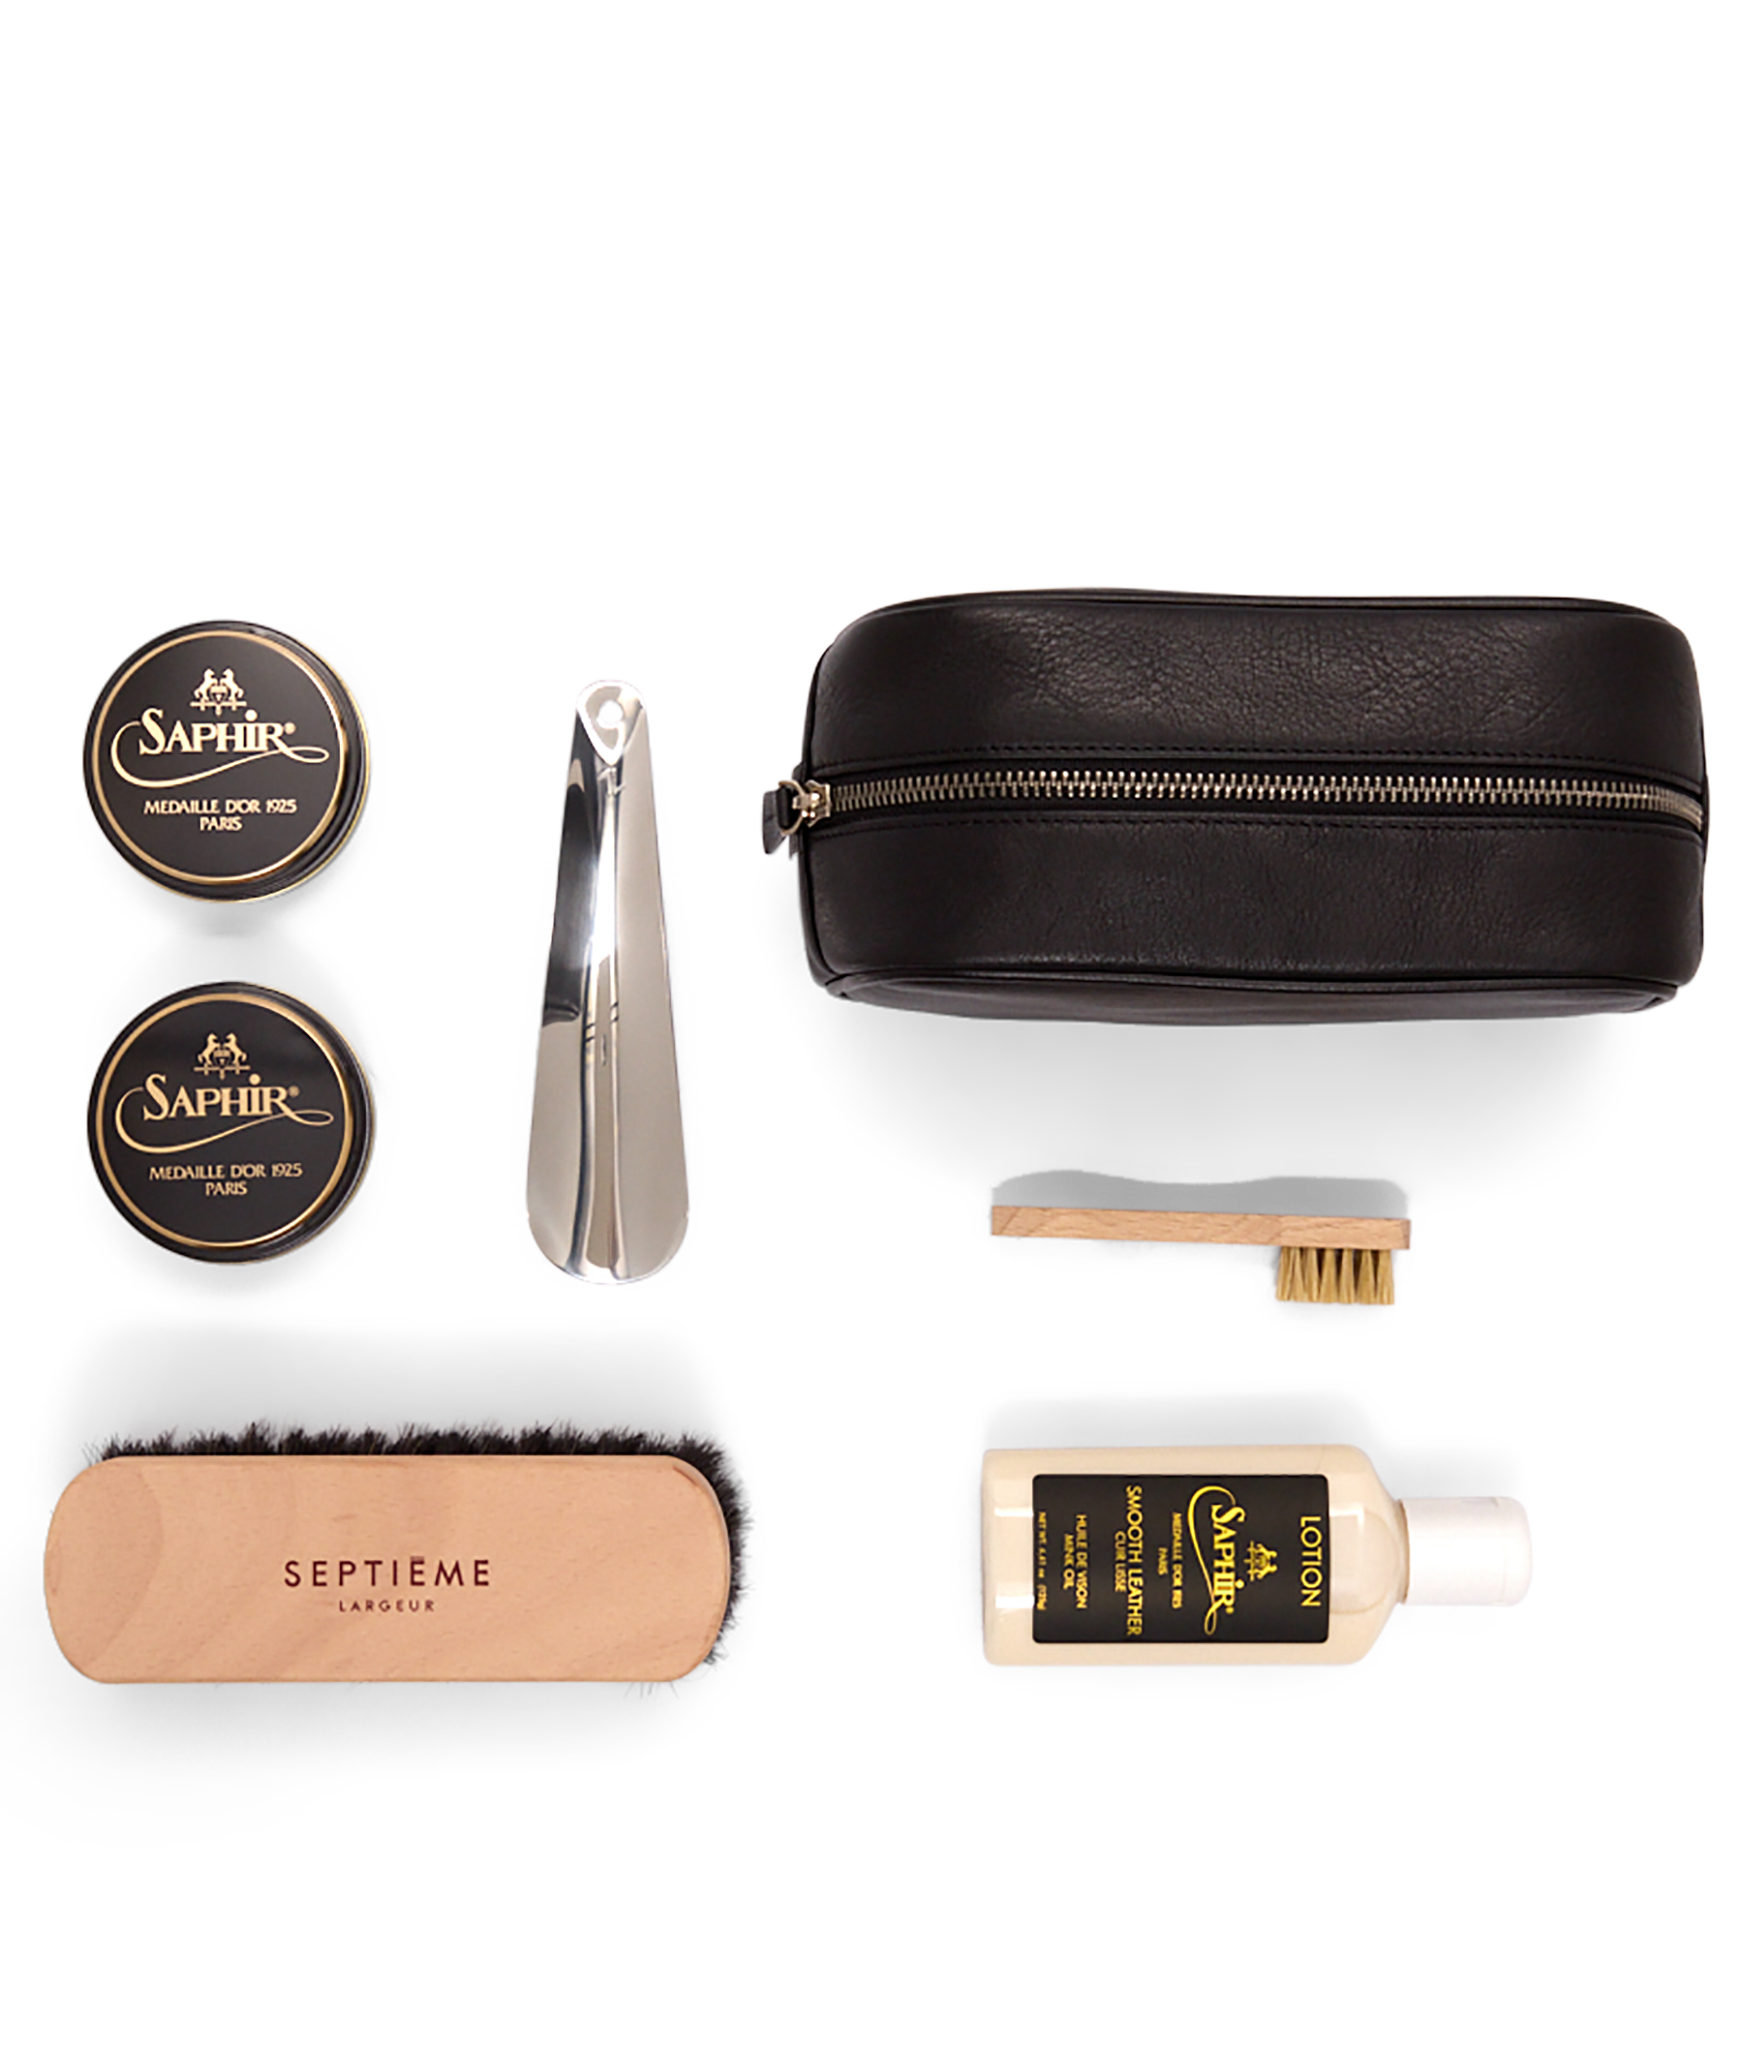
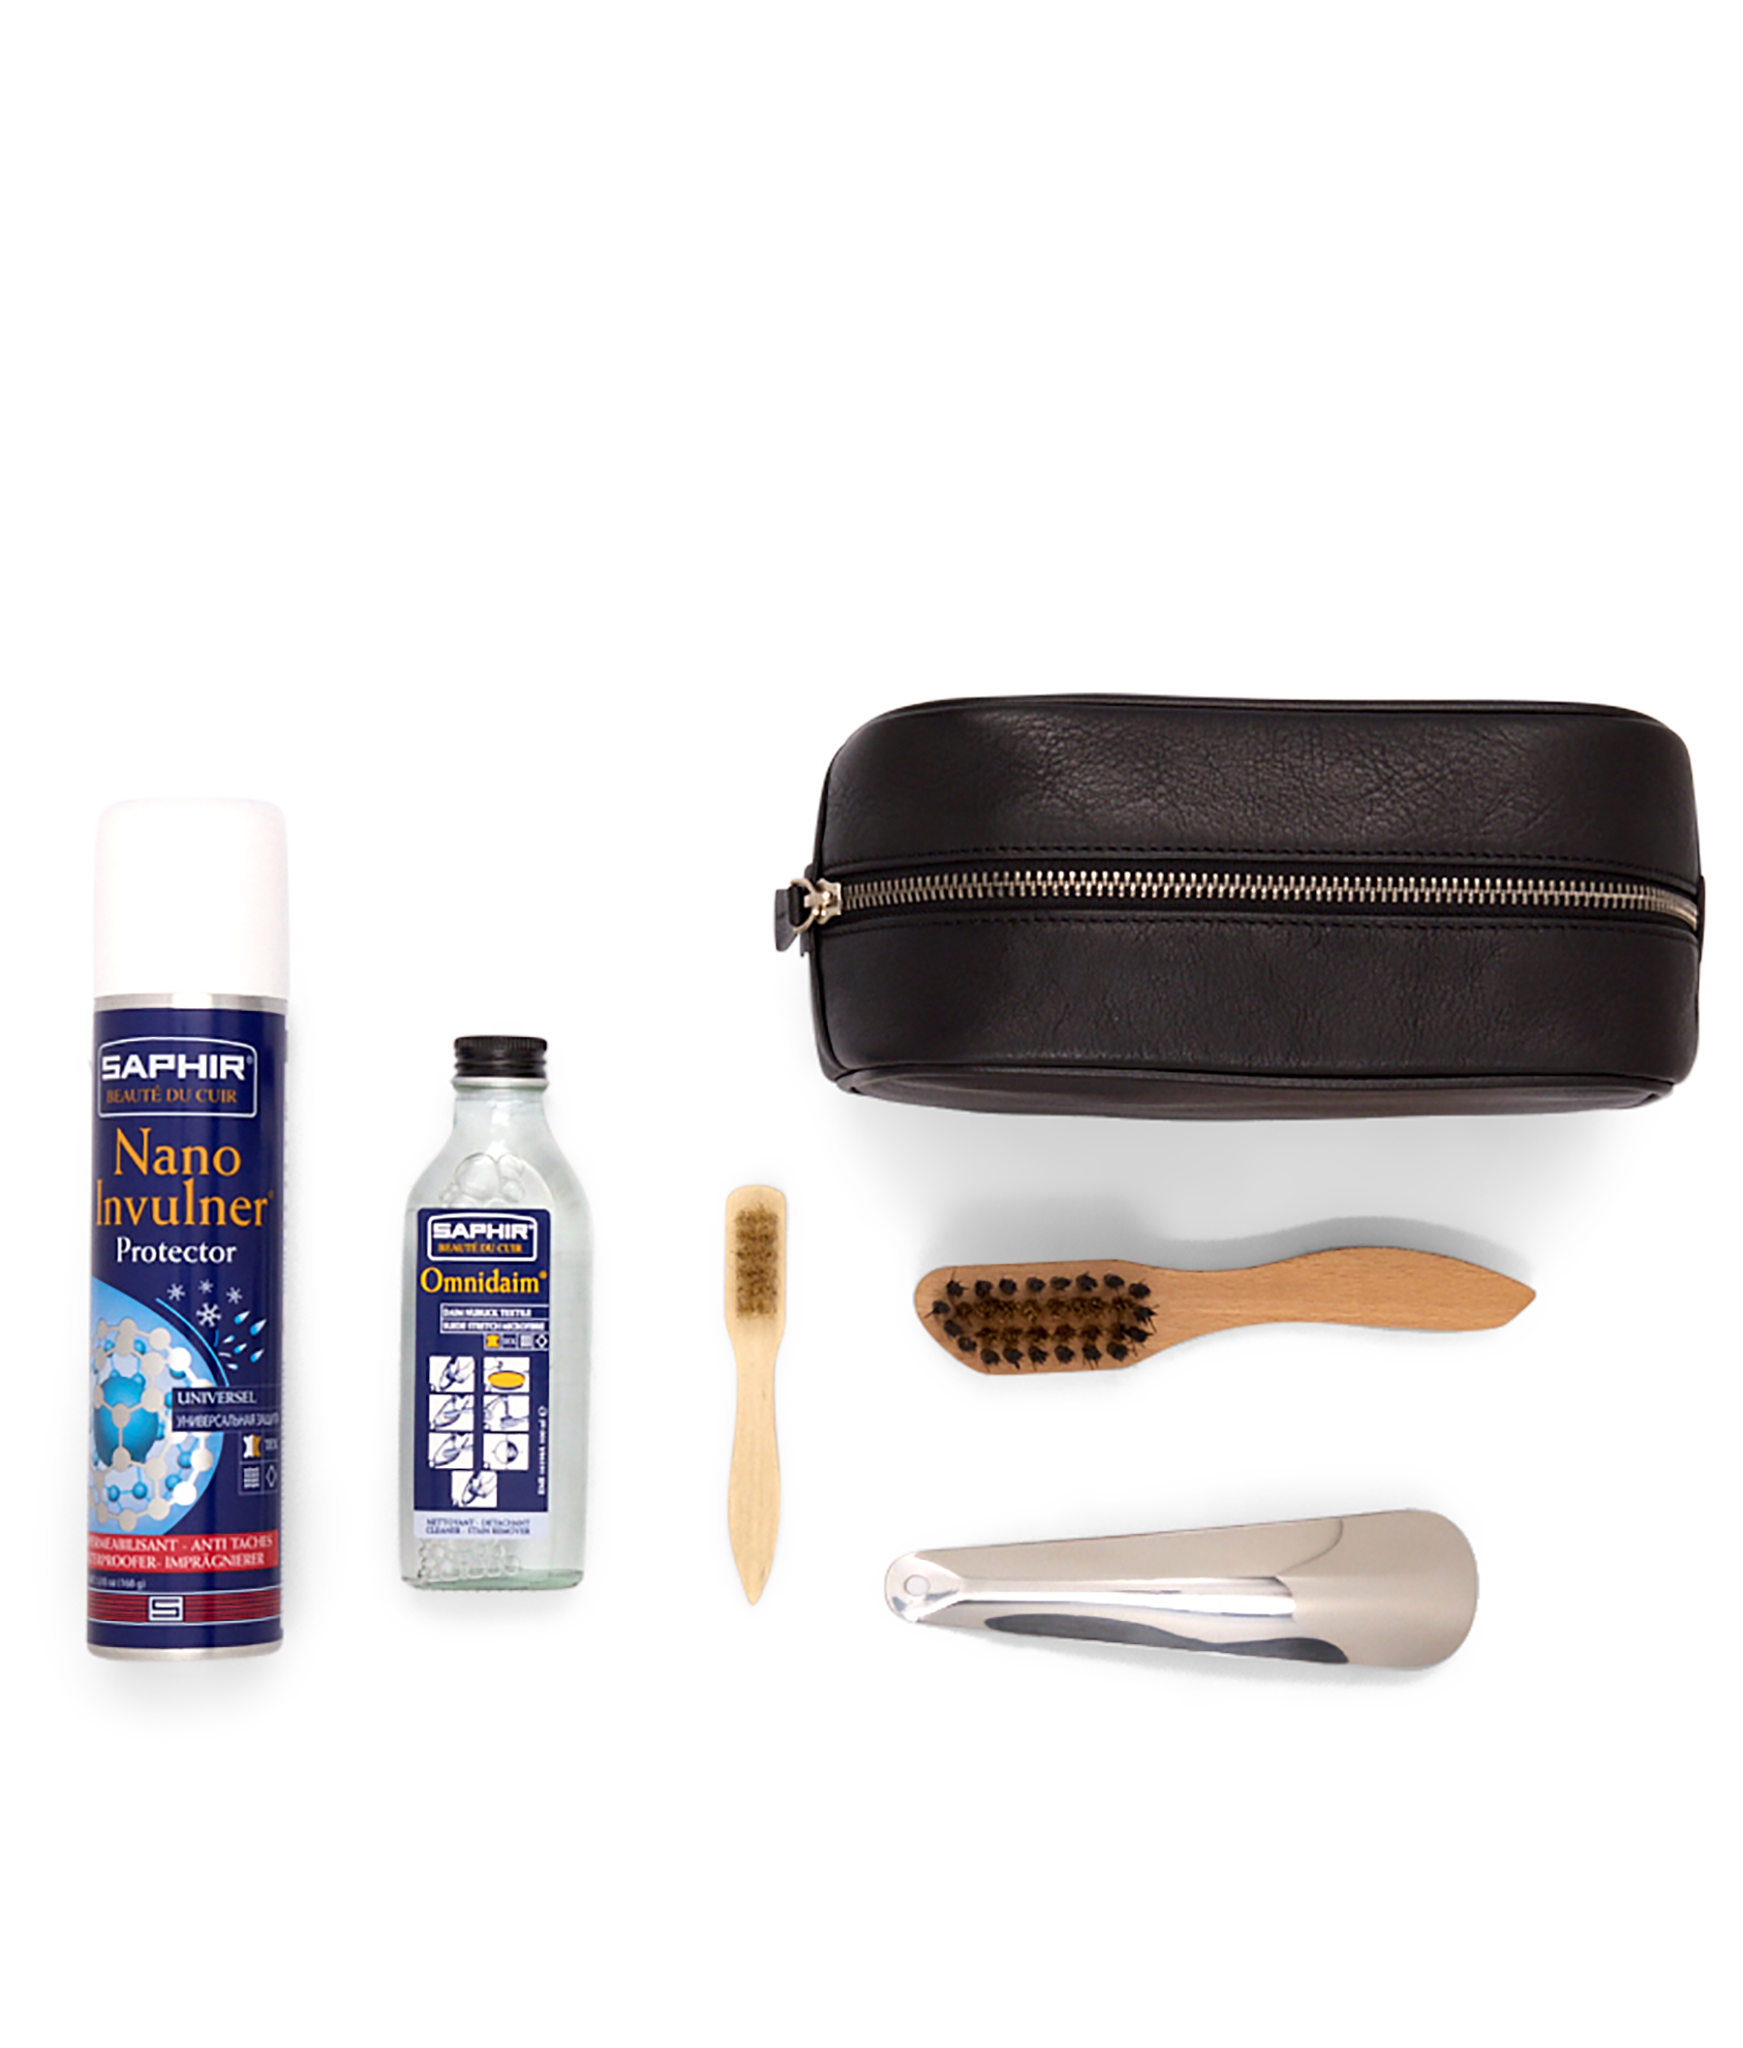
MUST-HAVES
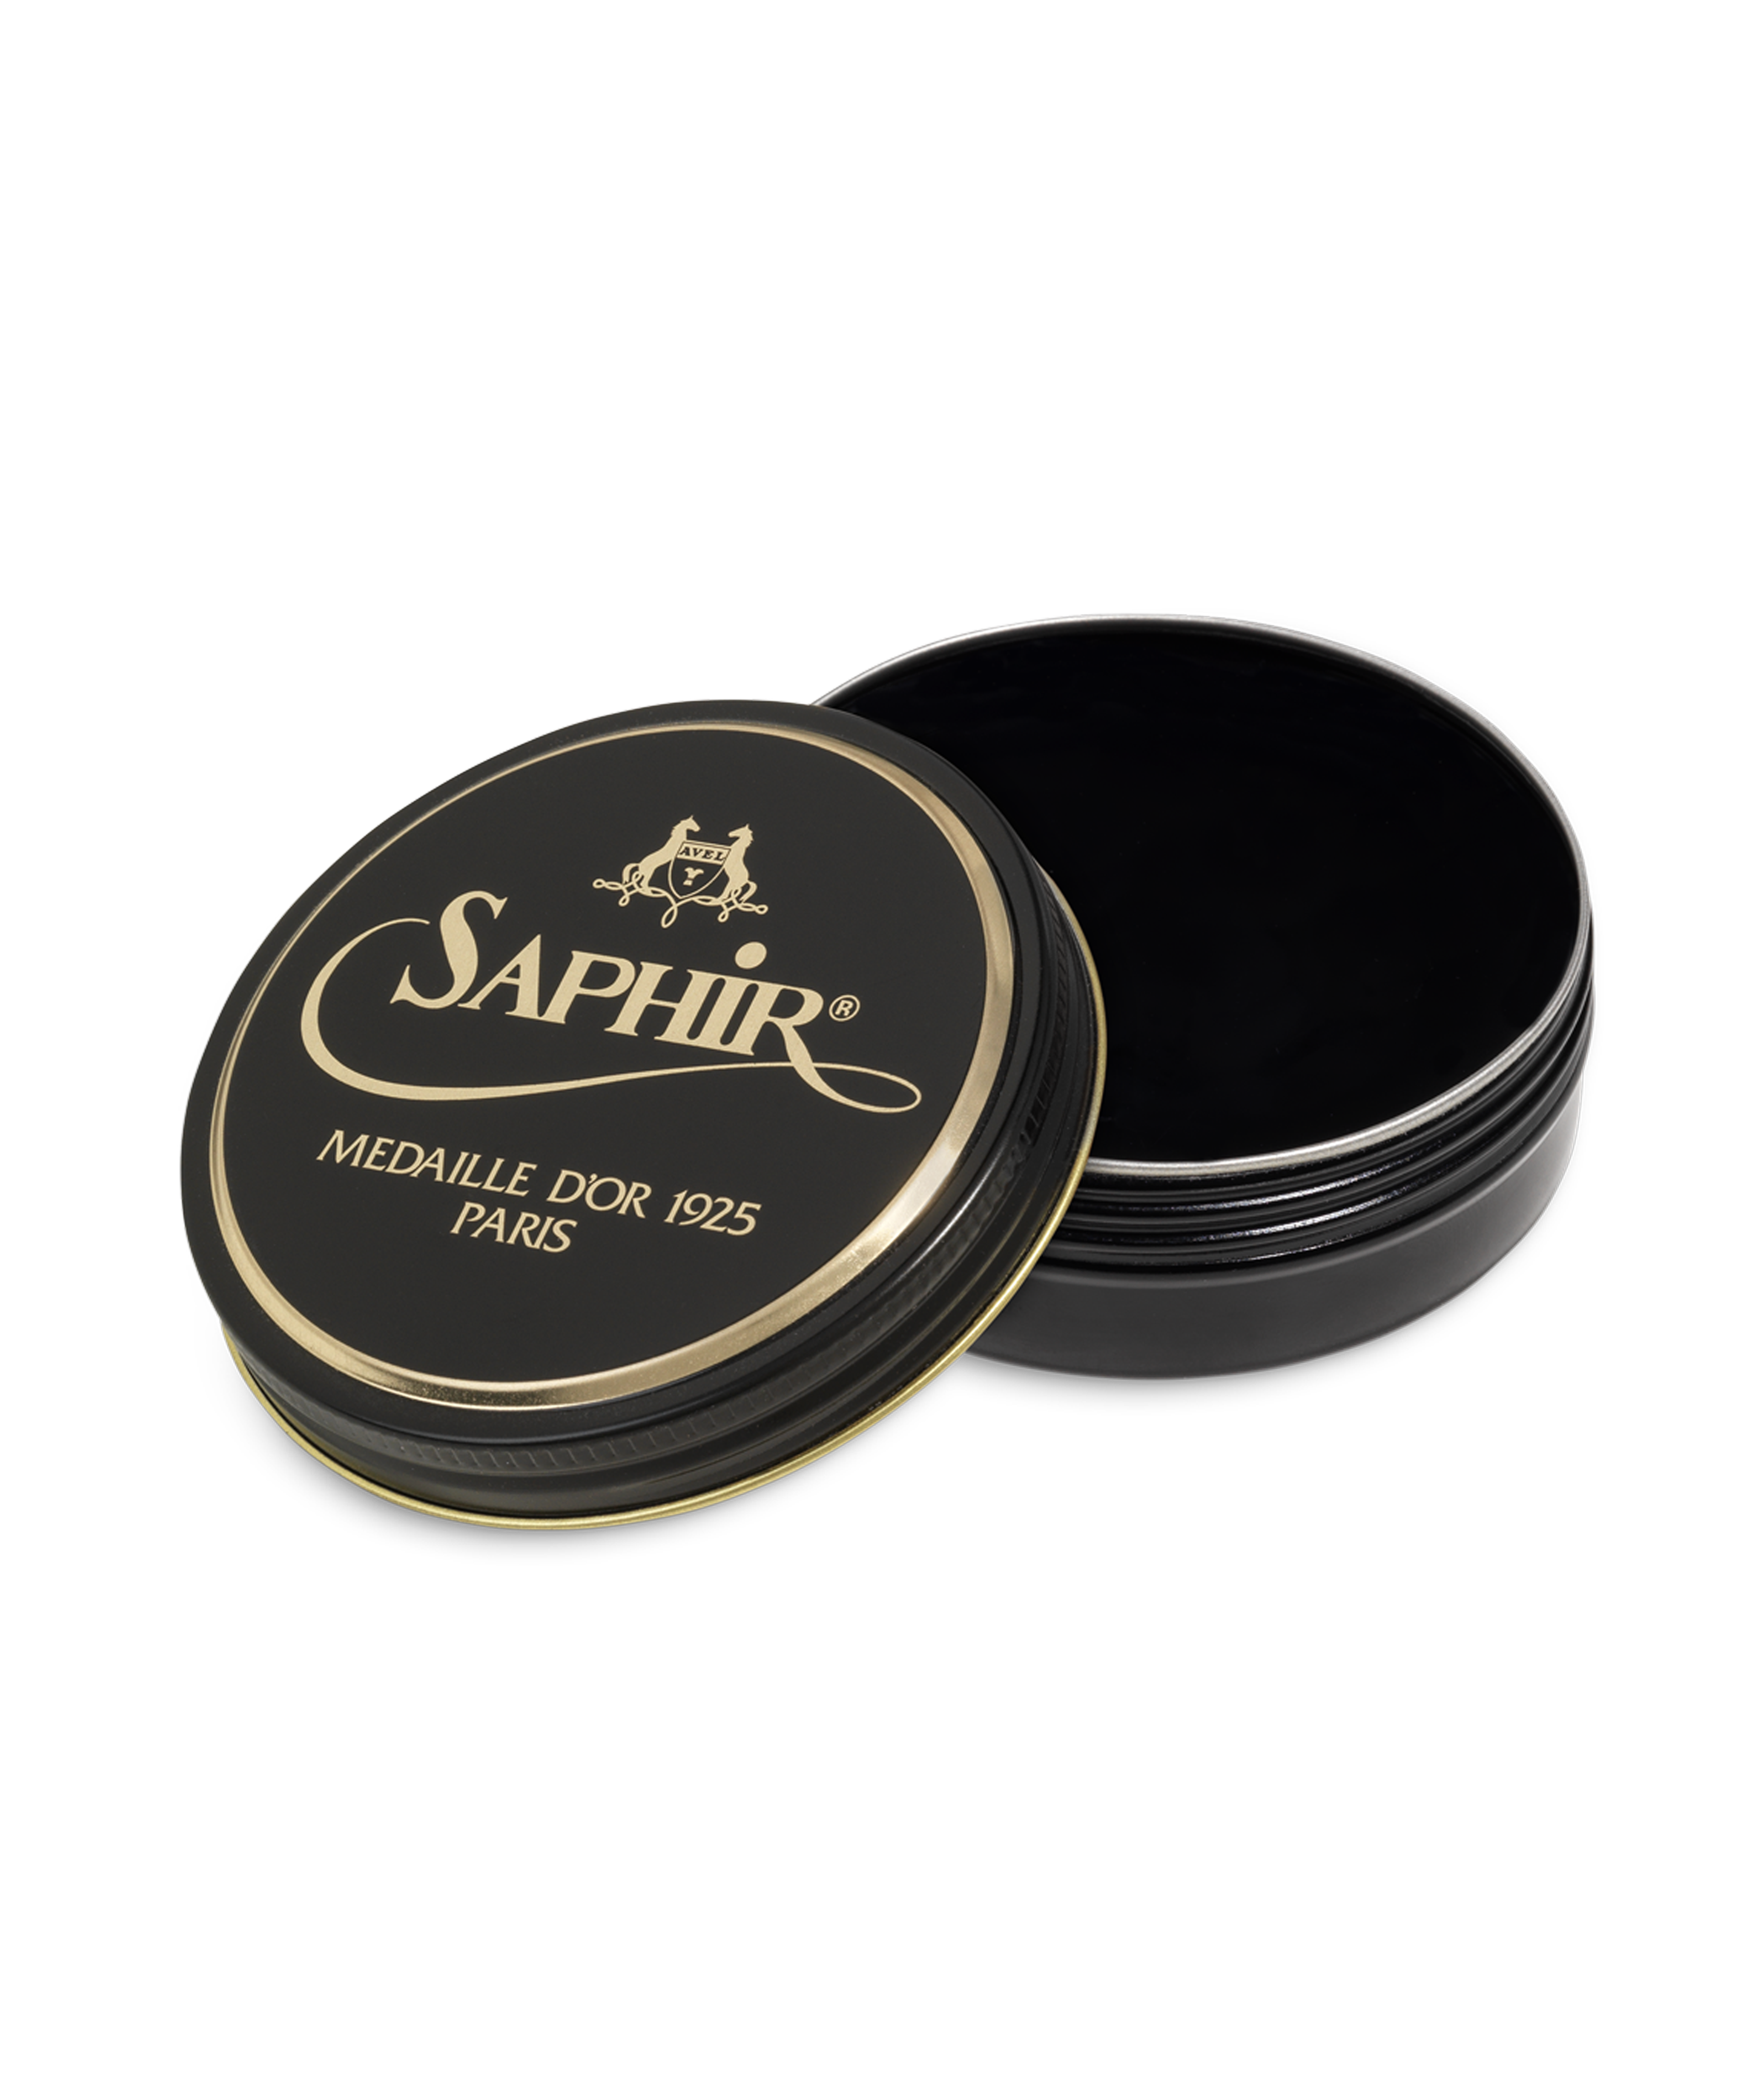
Shoe polish, mink oil lotion, black wax or even a welt brush: discover all the must-have accessories for keeping your shoes in top condition!


Secure payments
And payments in 3x or 4x
available
Free shipping
from 350€
Return & exchange
within 30 days
Contact us
contact@septiemelargeur.fr
+33 6 72 16 41 41

